Makers marks are something you will come across if you explore maker communities like I do. A makers mark functions like a signature for your work, almost like a company puts their logo in modern day.
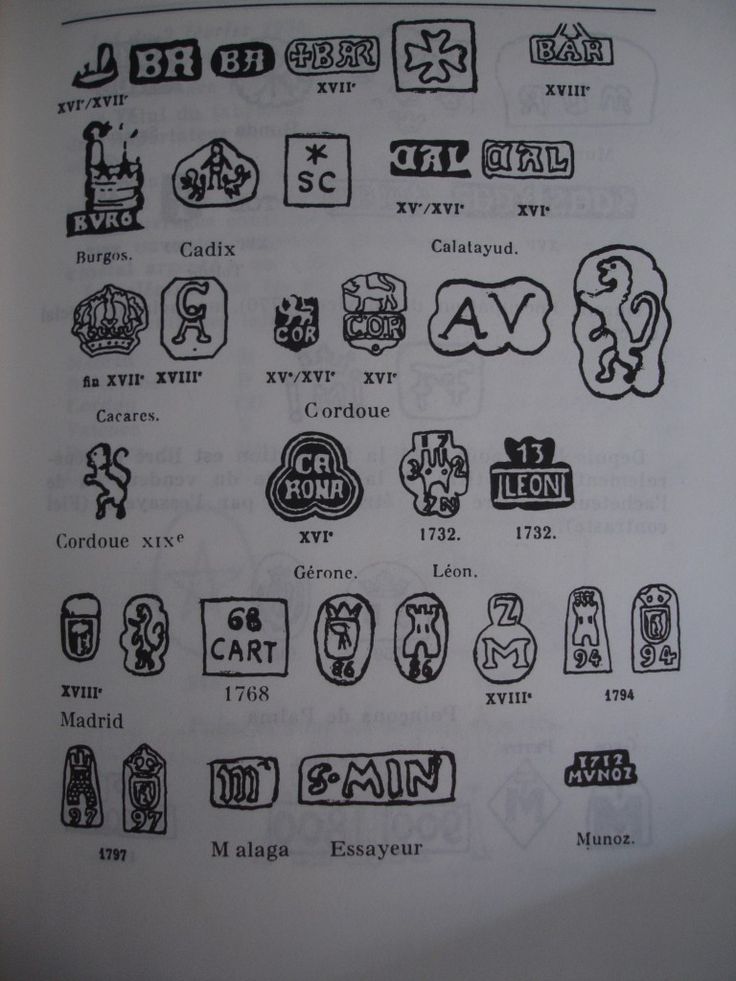
Examples of Traditional Makers Marks
I've wanted to design a makers mark for myself for a long time now, so inspired by such tidy and efficient designs. Making things that I am proud enough to sign is a fresh concept for me, and I want to do it justice. I've filled many pages in my sketch books over the last couple years with ideas and iterations.
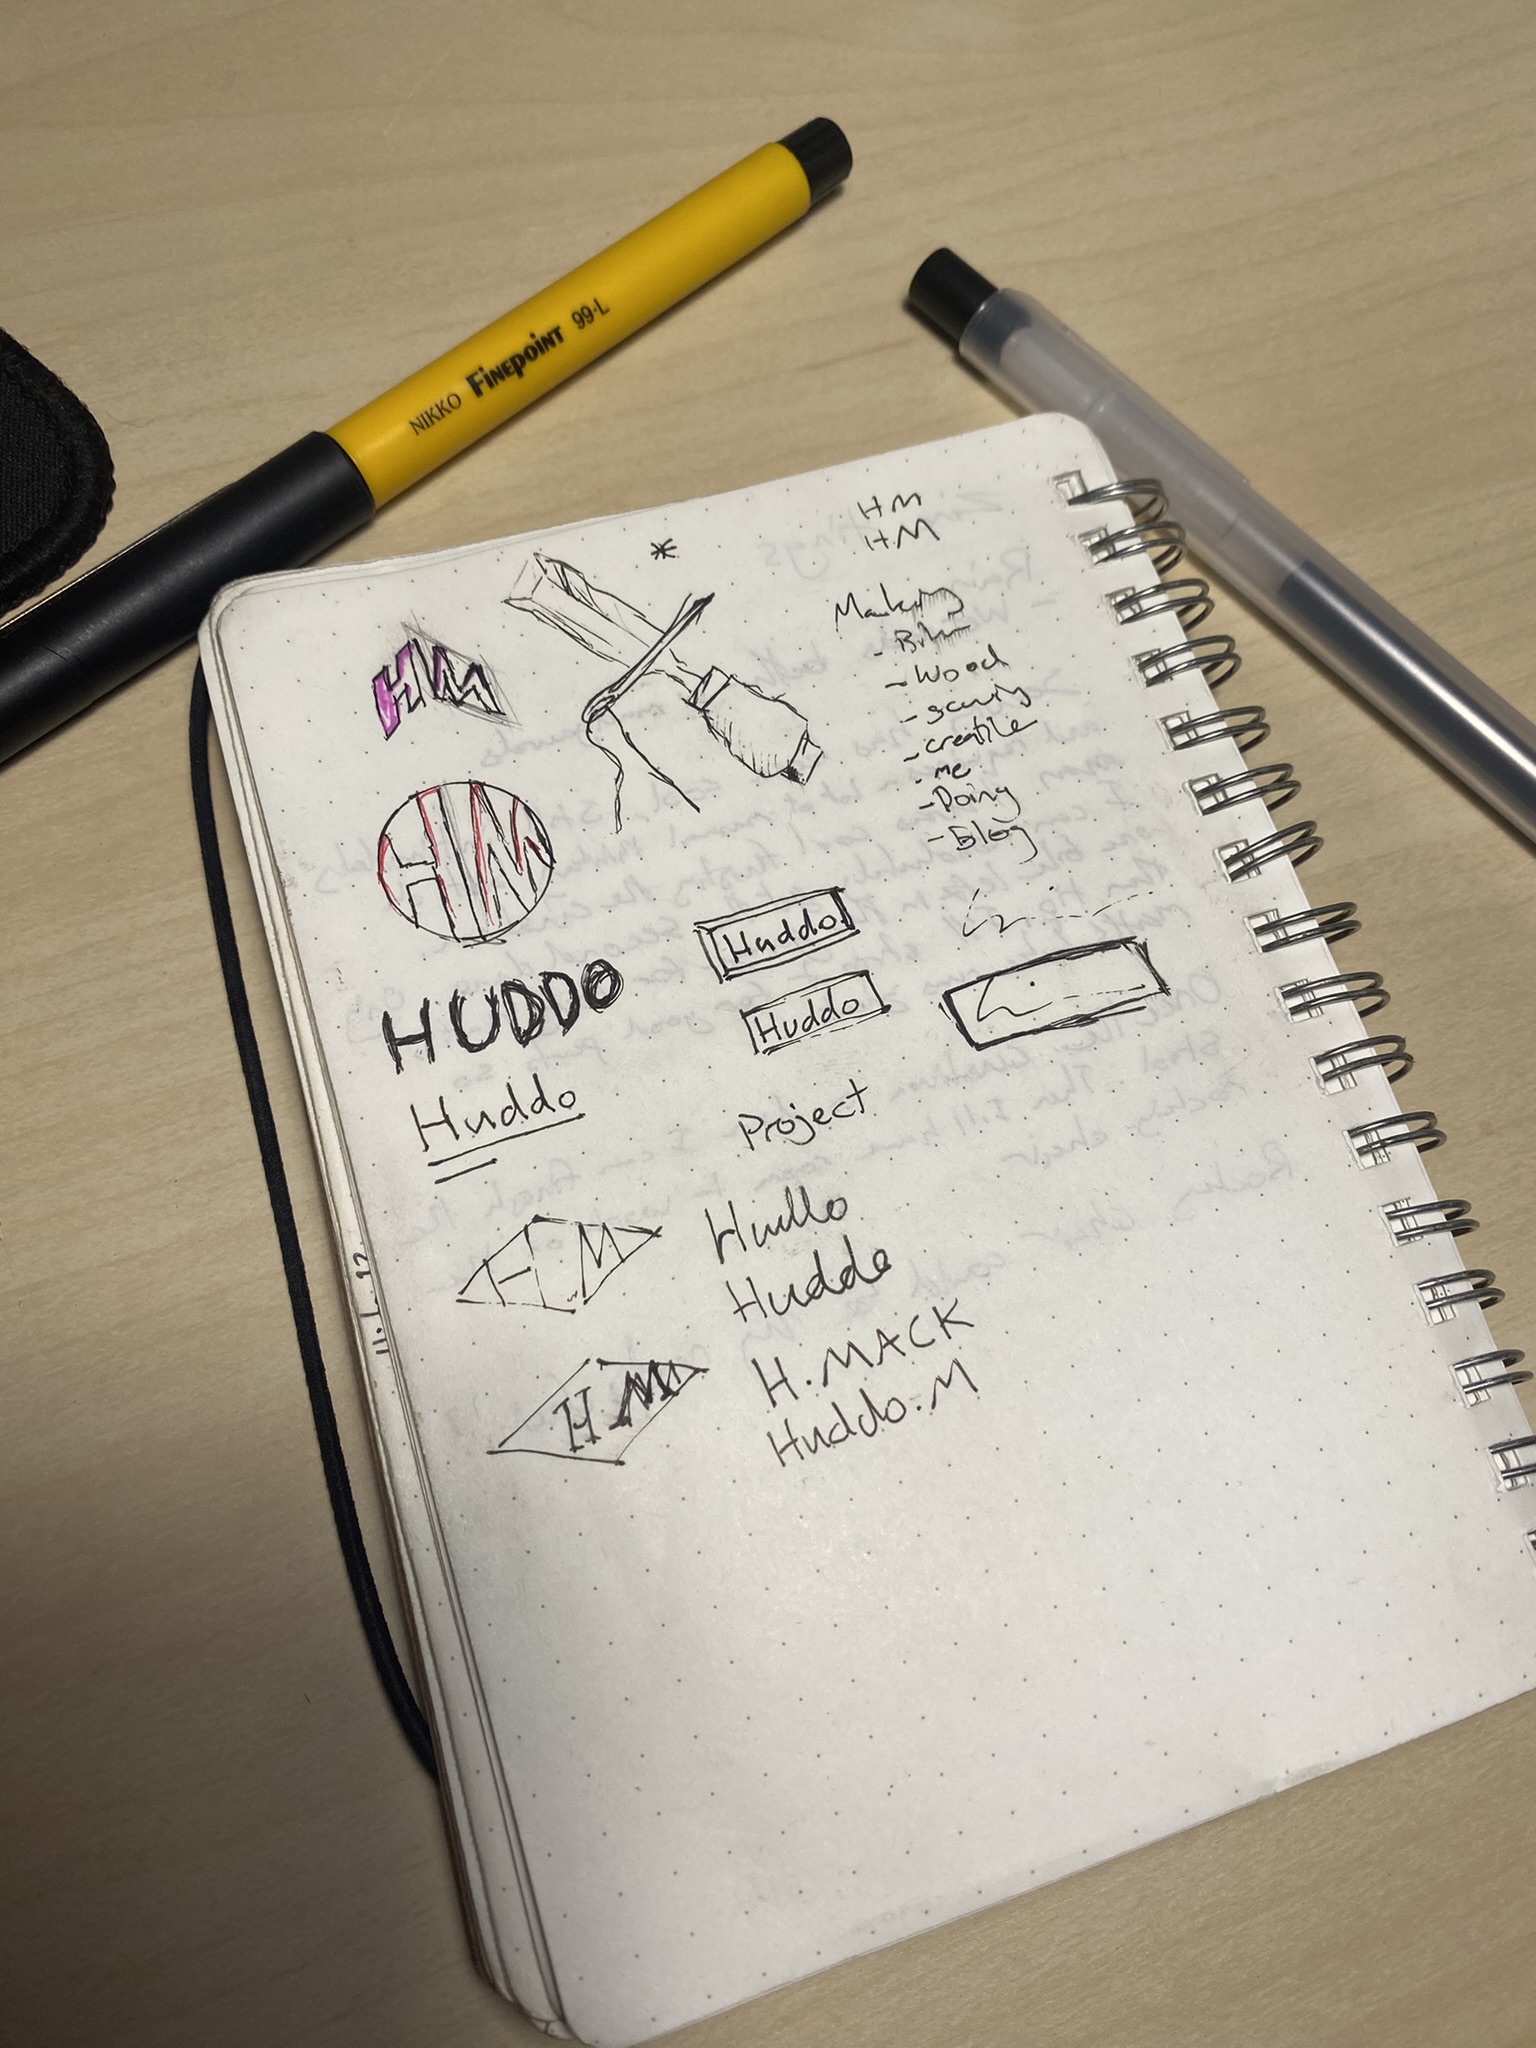
Just one page of sketches
Through this playful journey into design, I've been able to narrow down some clear criteria that I am seeking for my makers mark:
-
Easily reproduceable in almost any medium, stamp, embroidery, digital, wood burning, etc. This means no majorly complex shapes or textures
-
A Playful and interesting design, whilst being formal enough to be on a piece of fine furniture (which I aspire to make one day)
-
Be identifiable as my work, which means including my initials or name somehow
Exploring traditional maker marks and modern designs has given me tonnes of inspiration, however after every session sketching, my conclusion has always been that my initials, H.M, are just a little stiff and dull.
Discovering new ideas and playing with design is always an exciting challenge and several weeks ago I decided to share that challenge with my friend Janet, who played the game with me and provided fresh eyes and many new insights. One of her ideas she brought to the table was this:

Off-setting the initials vertically instantly inspired me to try a heap of ideas and really spoke to me as being capable of ticking all the boxes I desired.
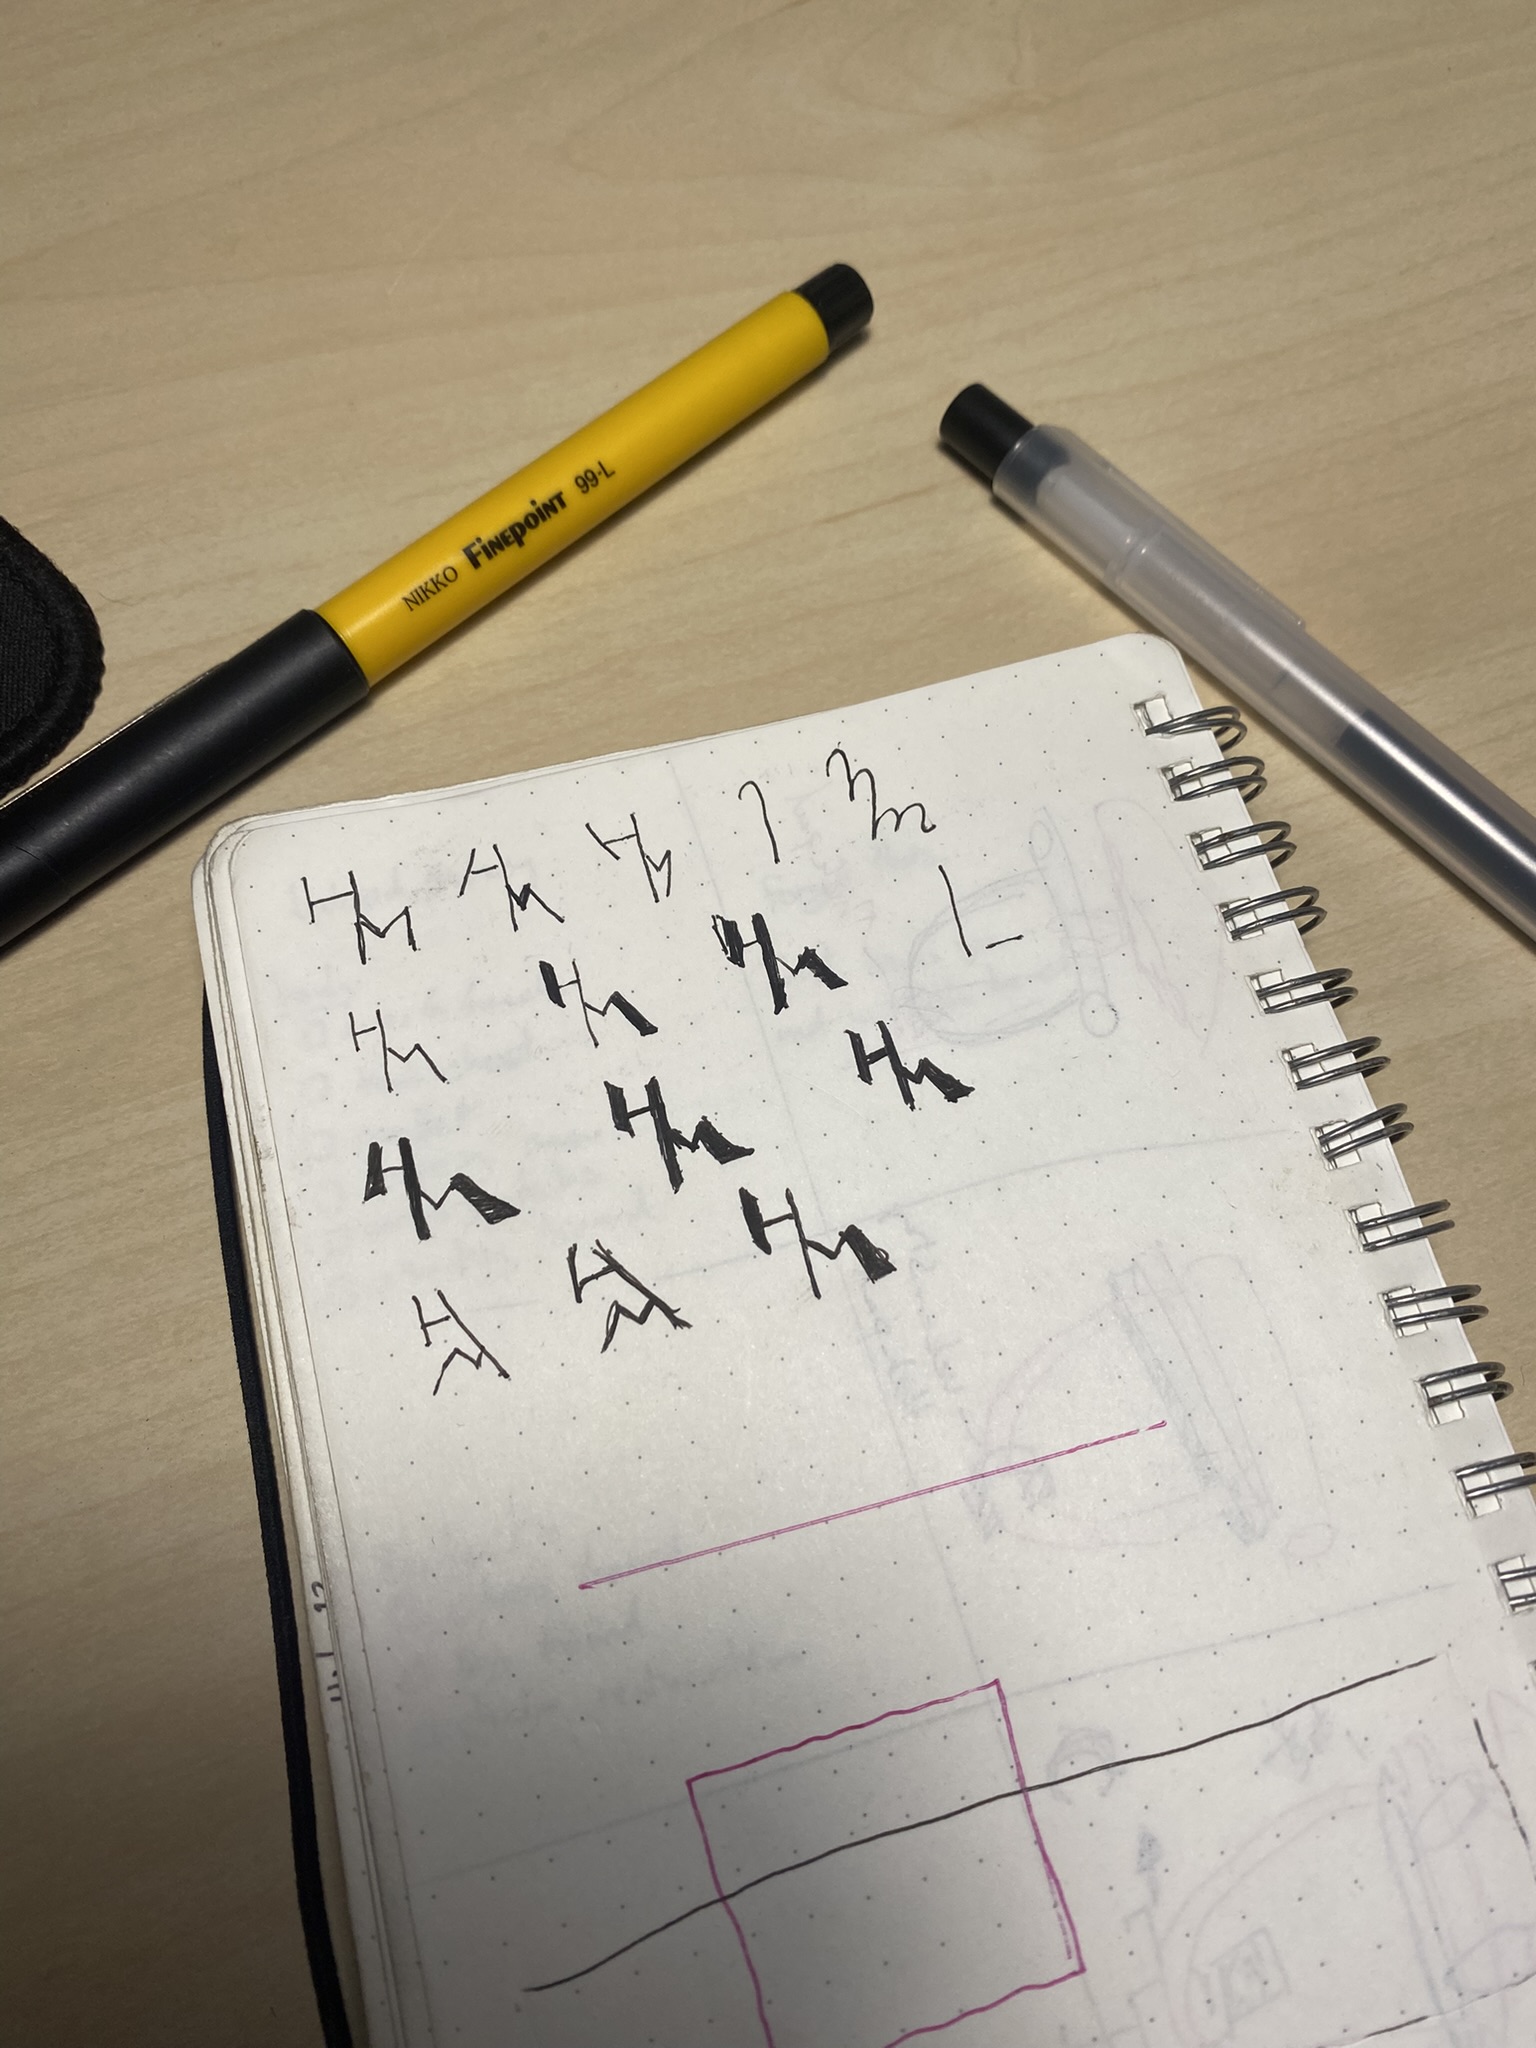
My subsequent exploration
Being able to crack that nut after many years of working at it felt well deserved and I will be forever in Janet's debt for her help.

Embroidery has also been something I've been looking to try for a while, I just have not come across the right project to start on. While finishing up my workshop apron project, I realised the apron needed something more, a little touch of personalisation or spark. It seemed that something hand embroidered would be the way. I opted not to make the embroidery a part of that project and to just finish the apron and put it in service. Now, months later and with many hours spent with the apron, I was ready to give it some more love.
Learning embroidery from the internet was relatively straight forward but still more work than I had initially anticipated (I don’t know why I always under expect how hard it is learning new skills). I explored many different straight and fill stitches and after seeing such beautiful work, I quickly developed some very complex ideas, using several advanced stitches. However, that calm voice of reason inside me said: Dude, this is your first ever embroidery project. So I considered what would be within my capabilities and would do the simple logo justice. Eventually I settled on a very simple satin stitch for the block colours and a stem stitch for the lines.
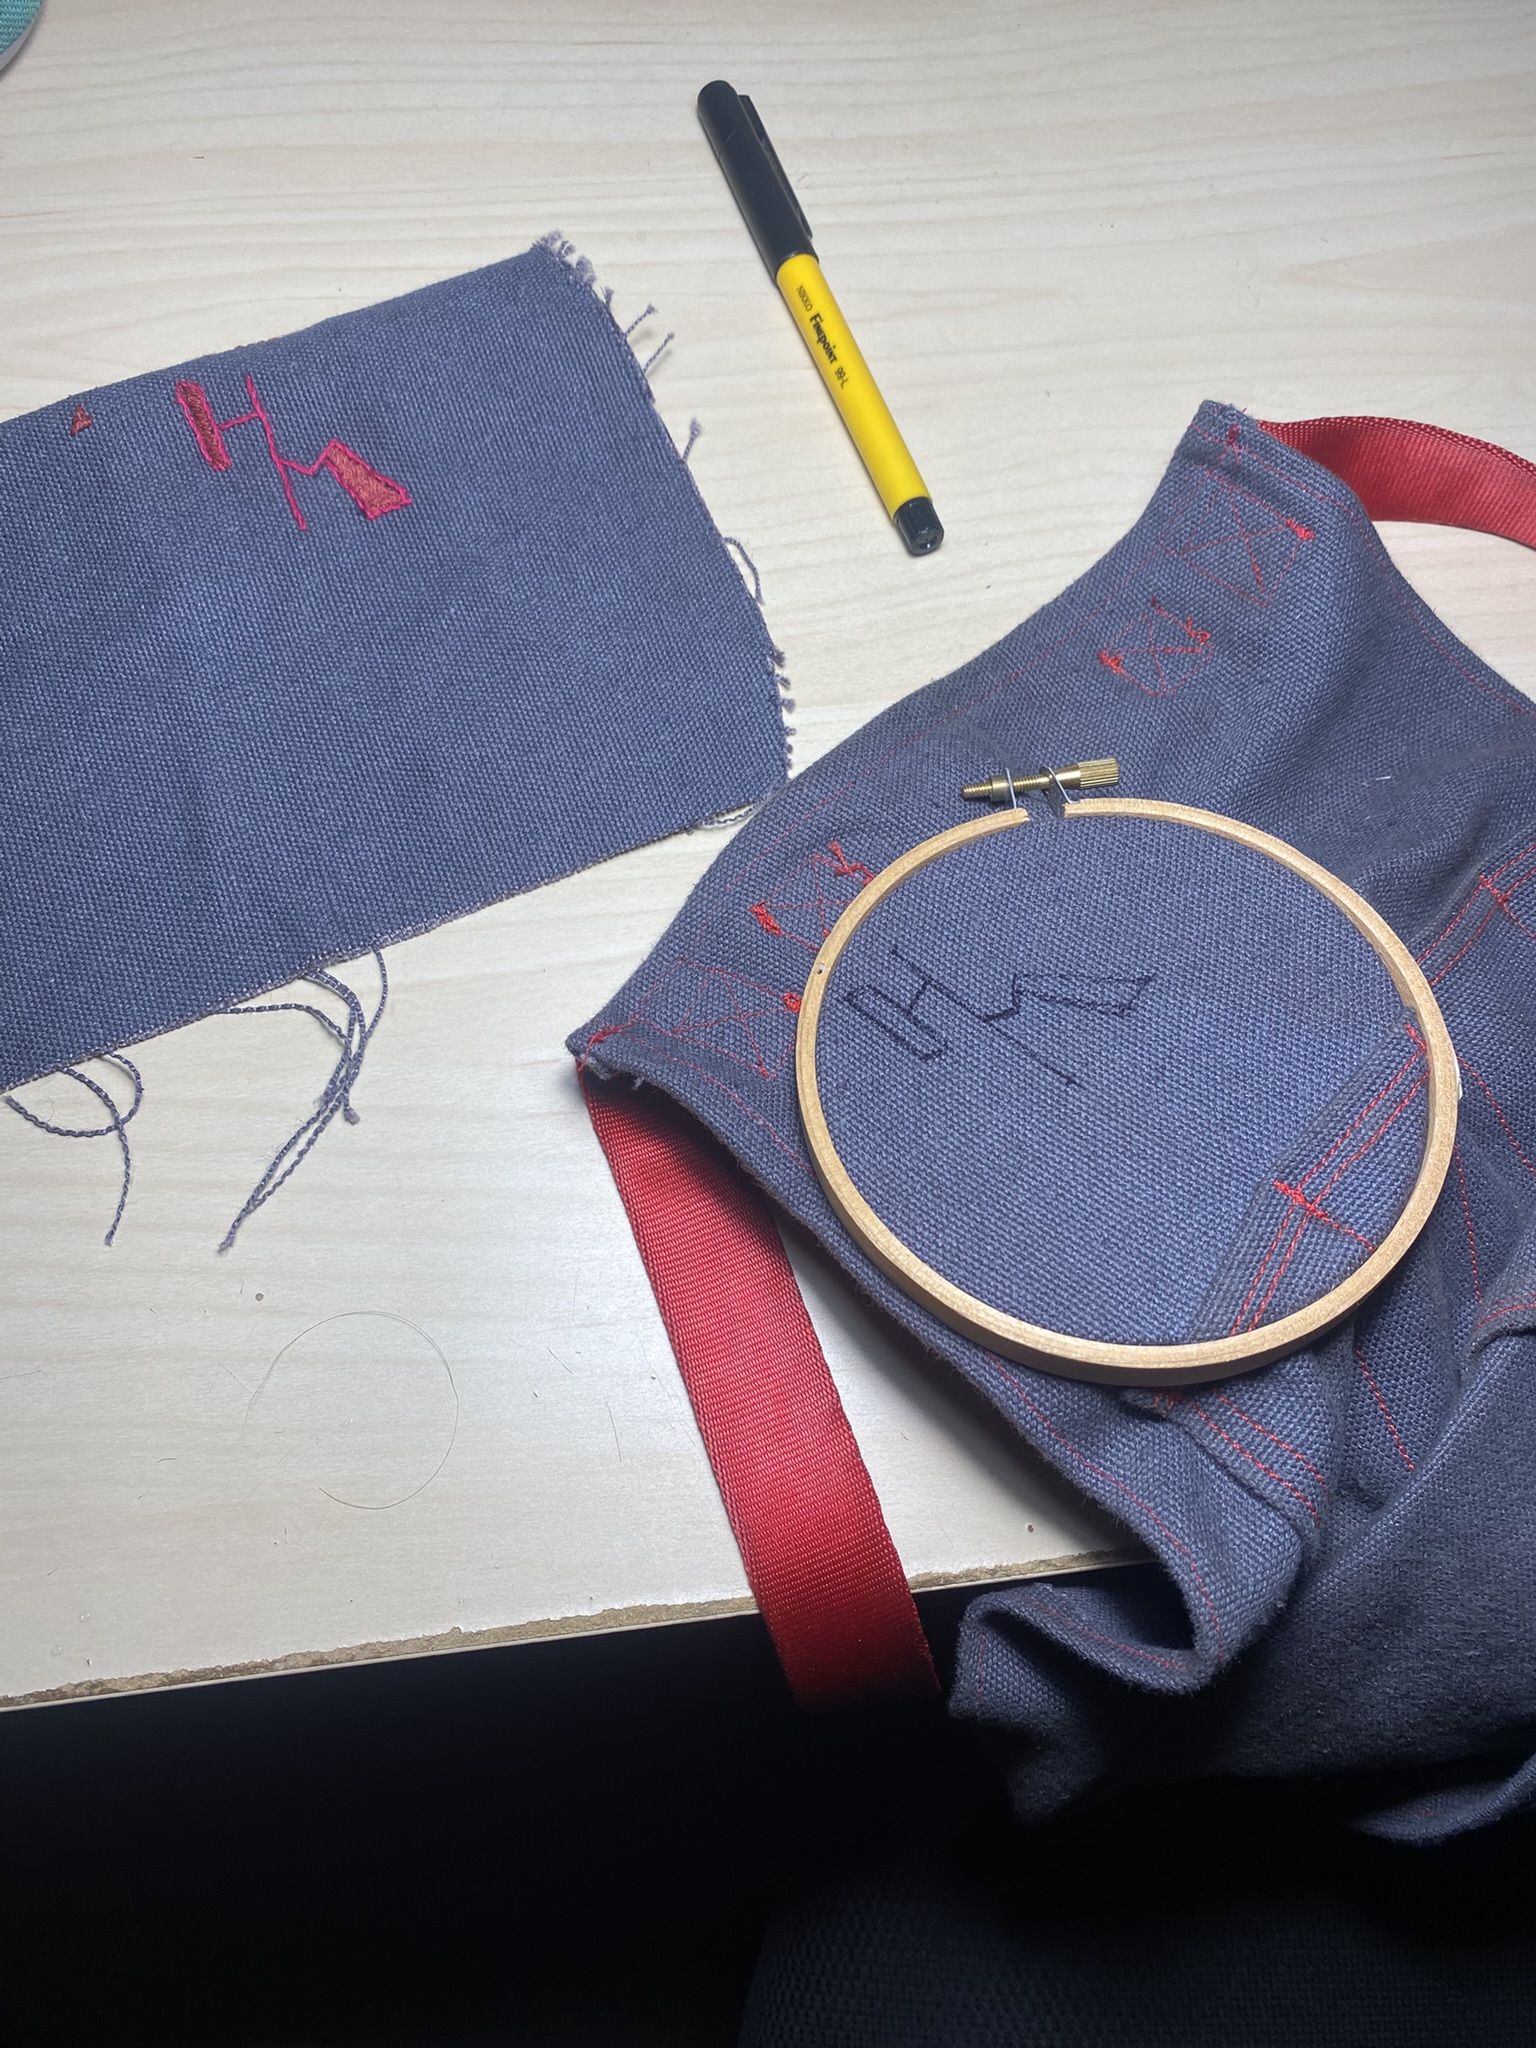
I decided to undertake a full test piece for this project, giving me an opportunity to experiment without fear of failure and hone my skills before the final.
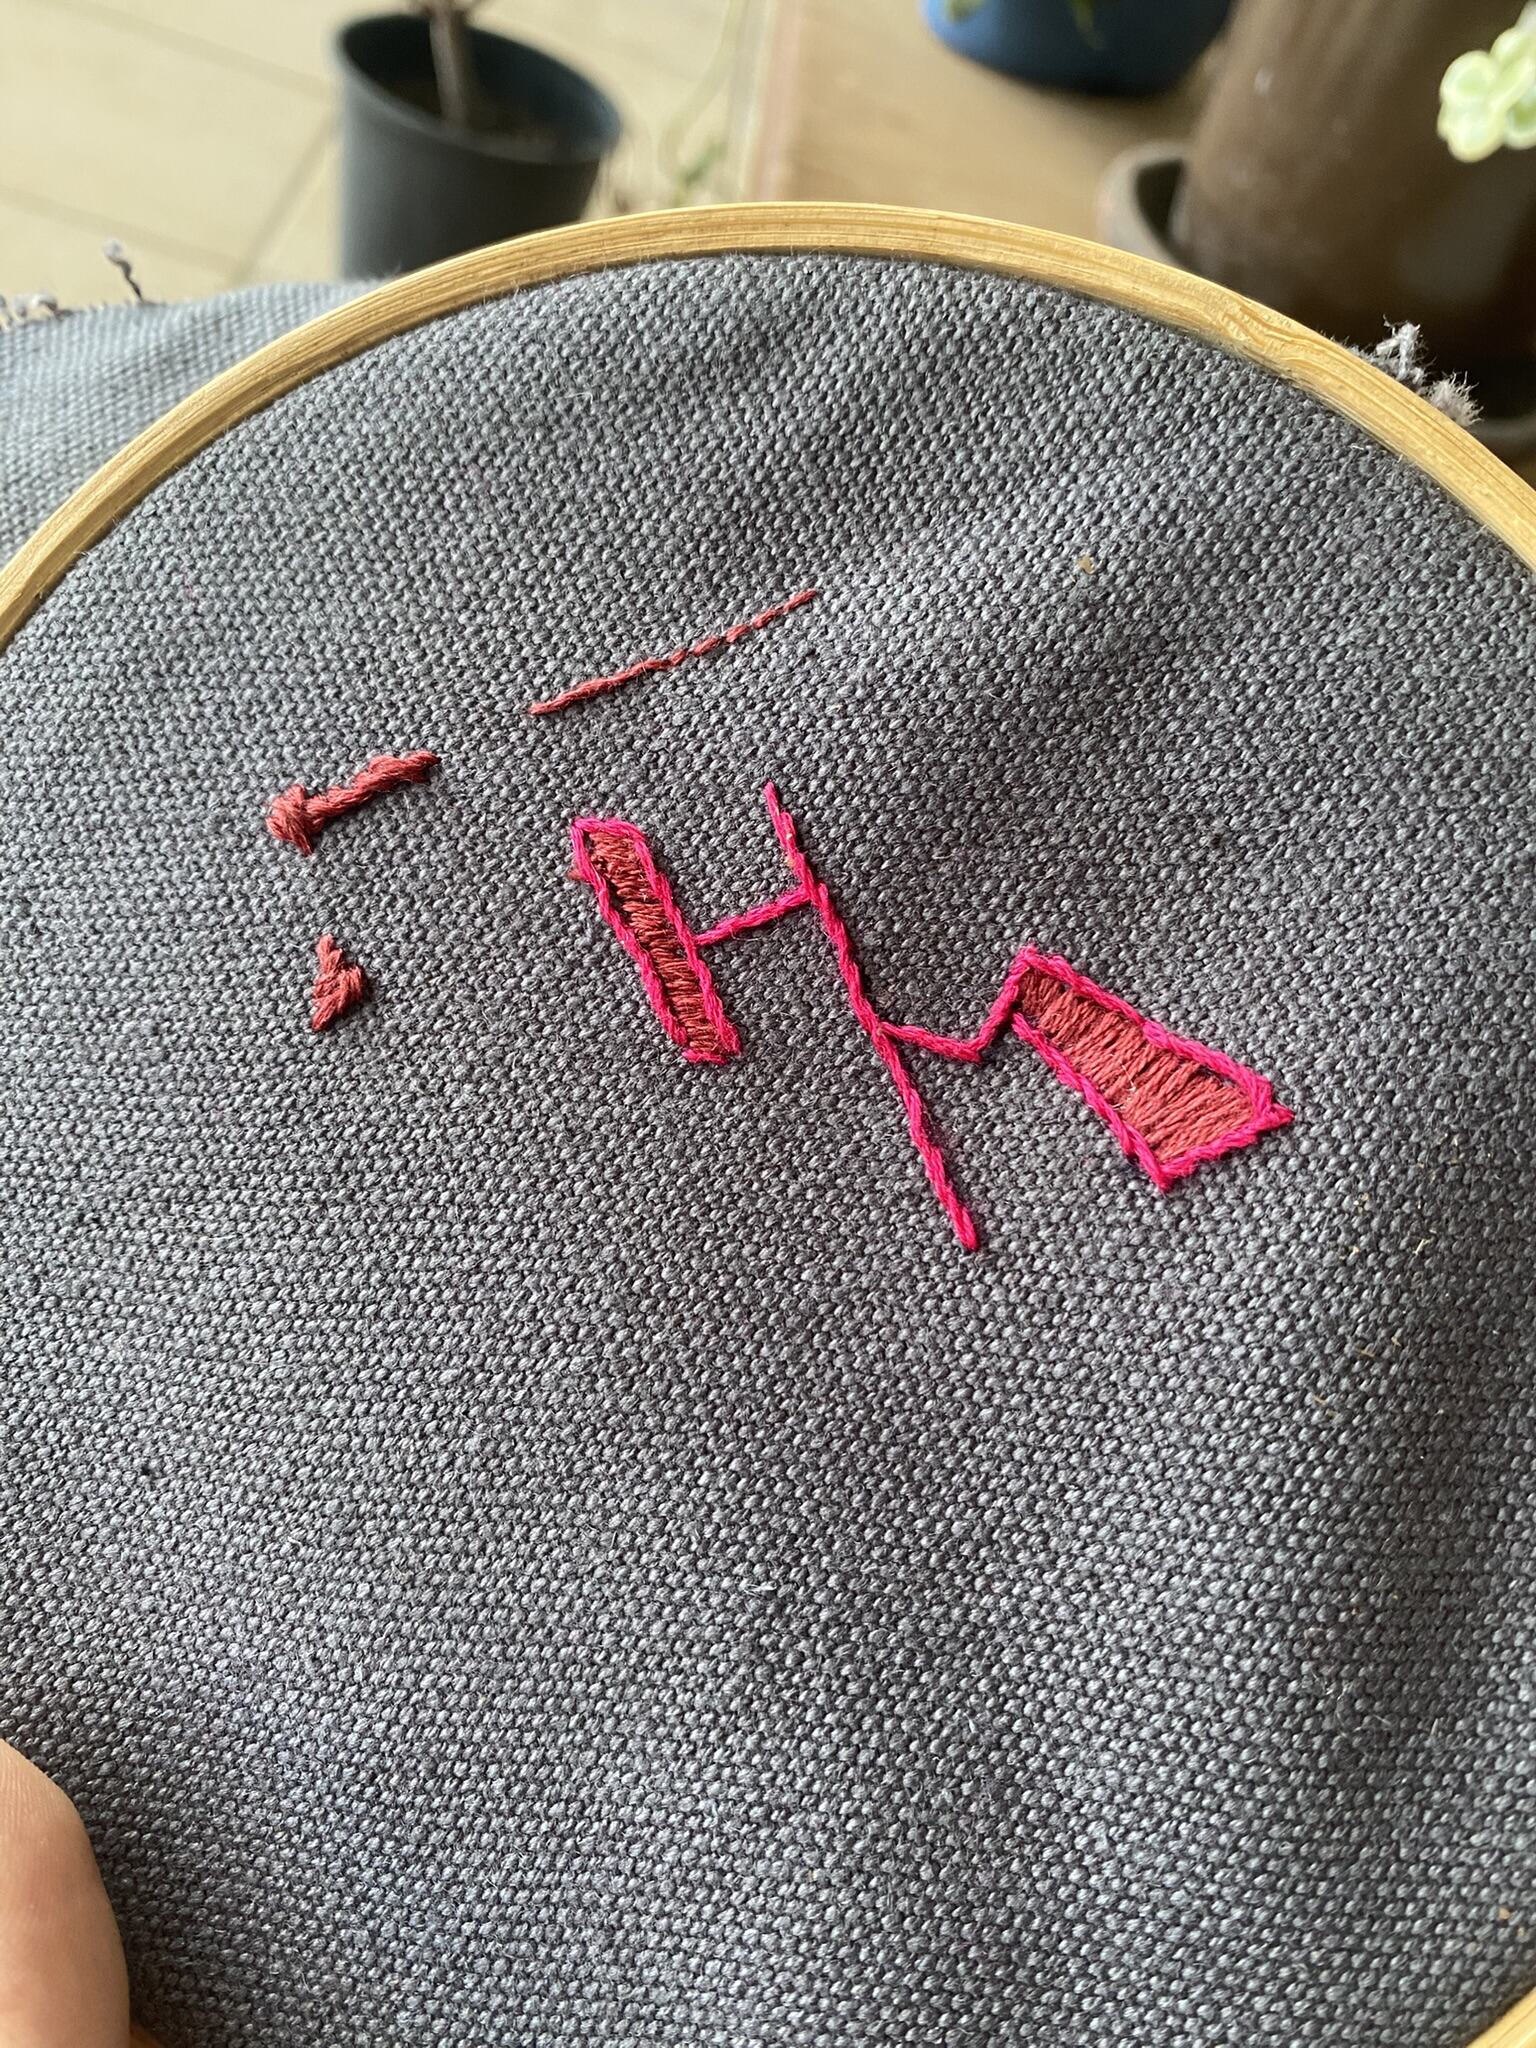
Don't mind the colours, it was all I had on hand
You can see where I’ve practiced straight stem stitches and played with the idea of outlining the fill stitches. I quickly realised as I made my way through this test piece that whatever I did for the final, it would need to be as tidy and accurate as possible to have the clean, craftsman-like look I was striving for. This encouraged to really focus and produce good work both during my test and the final piece.
Although there ended up being several weeks between the test and final, I put what I had learned in service to make the project meet my vision. The final embroidery took two good evenings after work, of quiet time at my desk, just doing the work. No music, no podcast, no Youtube video, just focused work. And here is the final product:
Sketching out the pattern
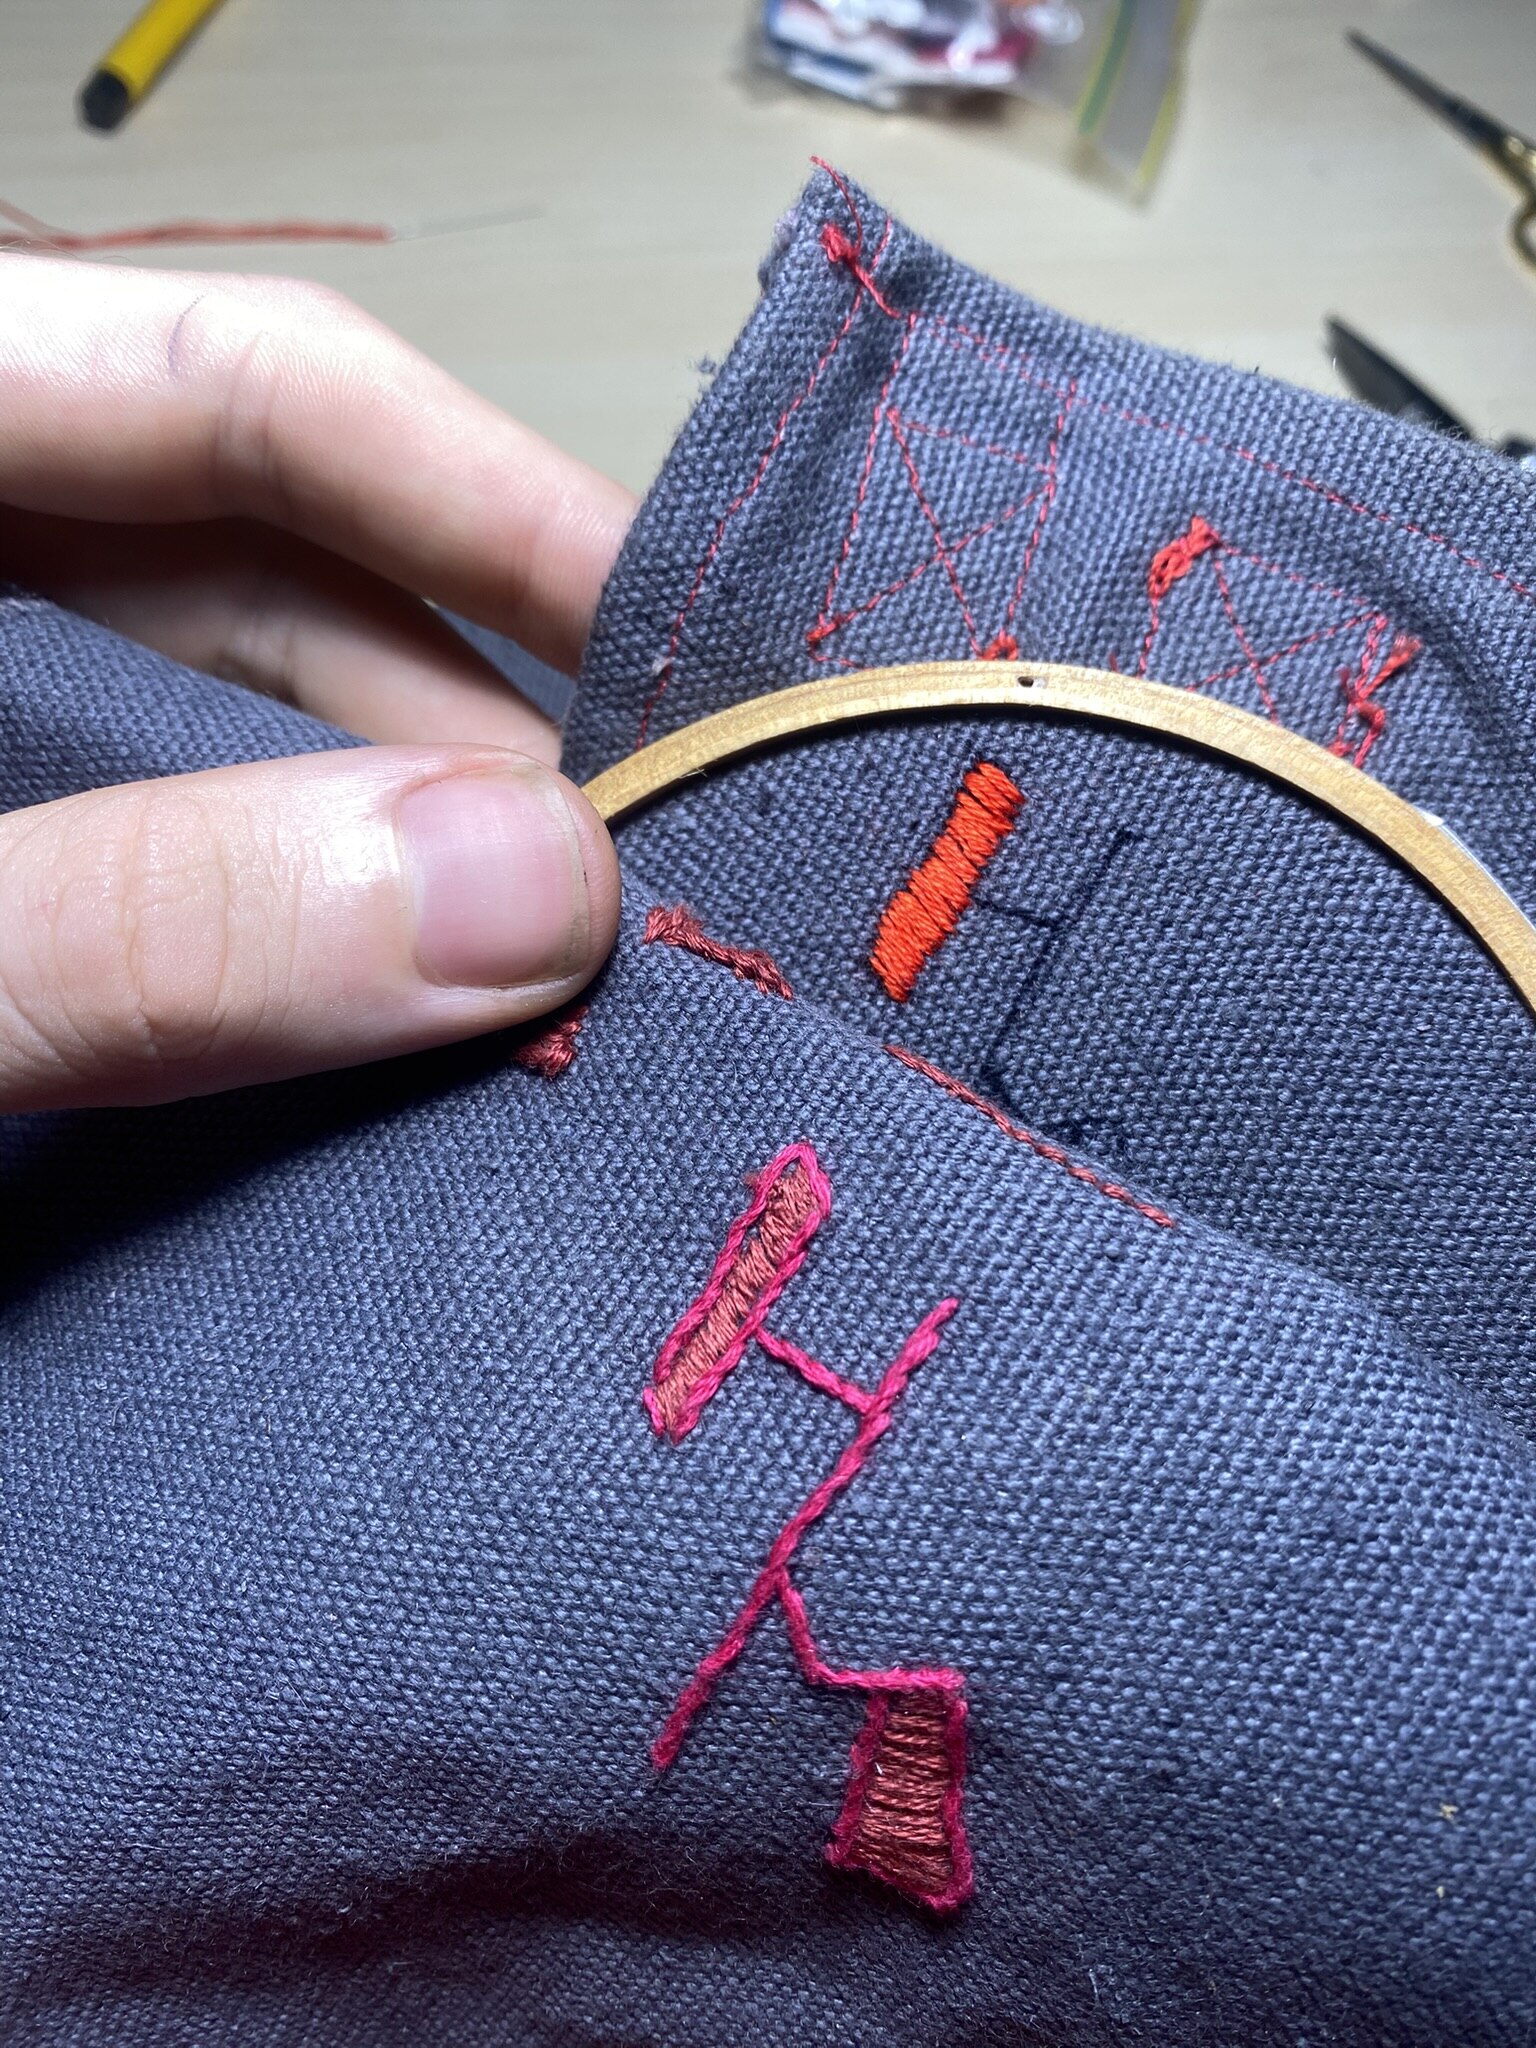
My work got so much better with practice
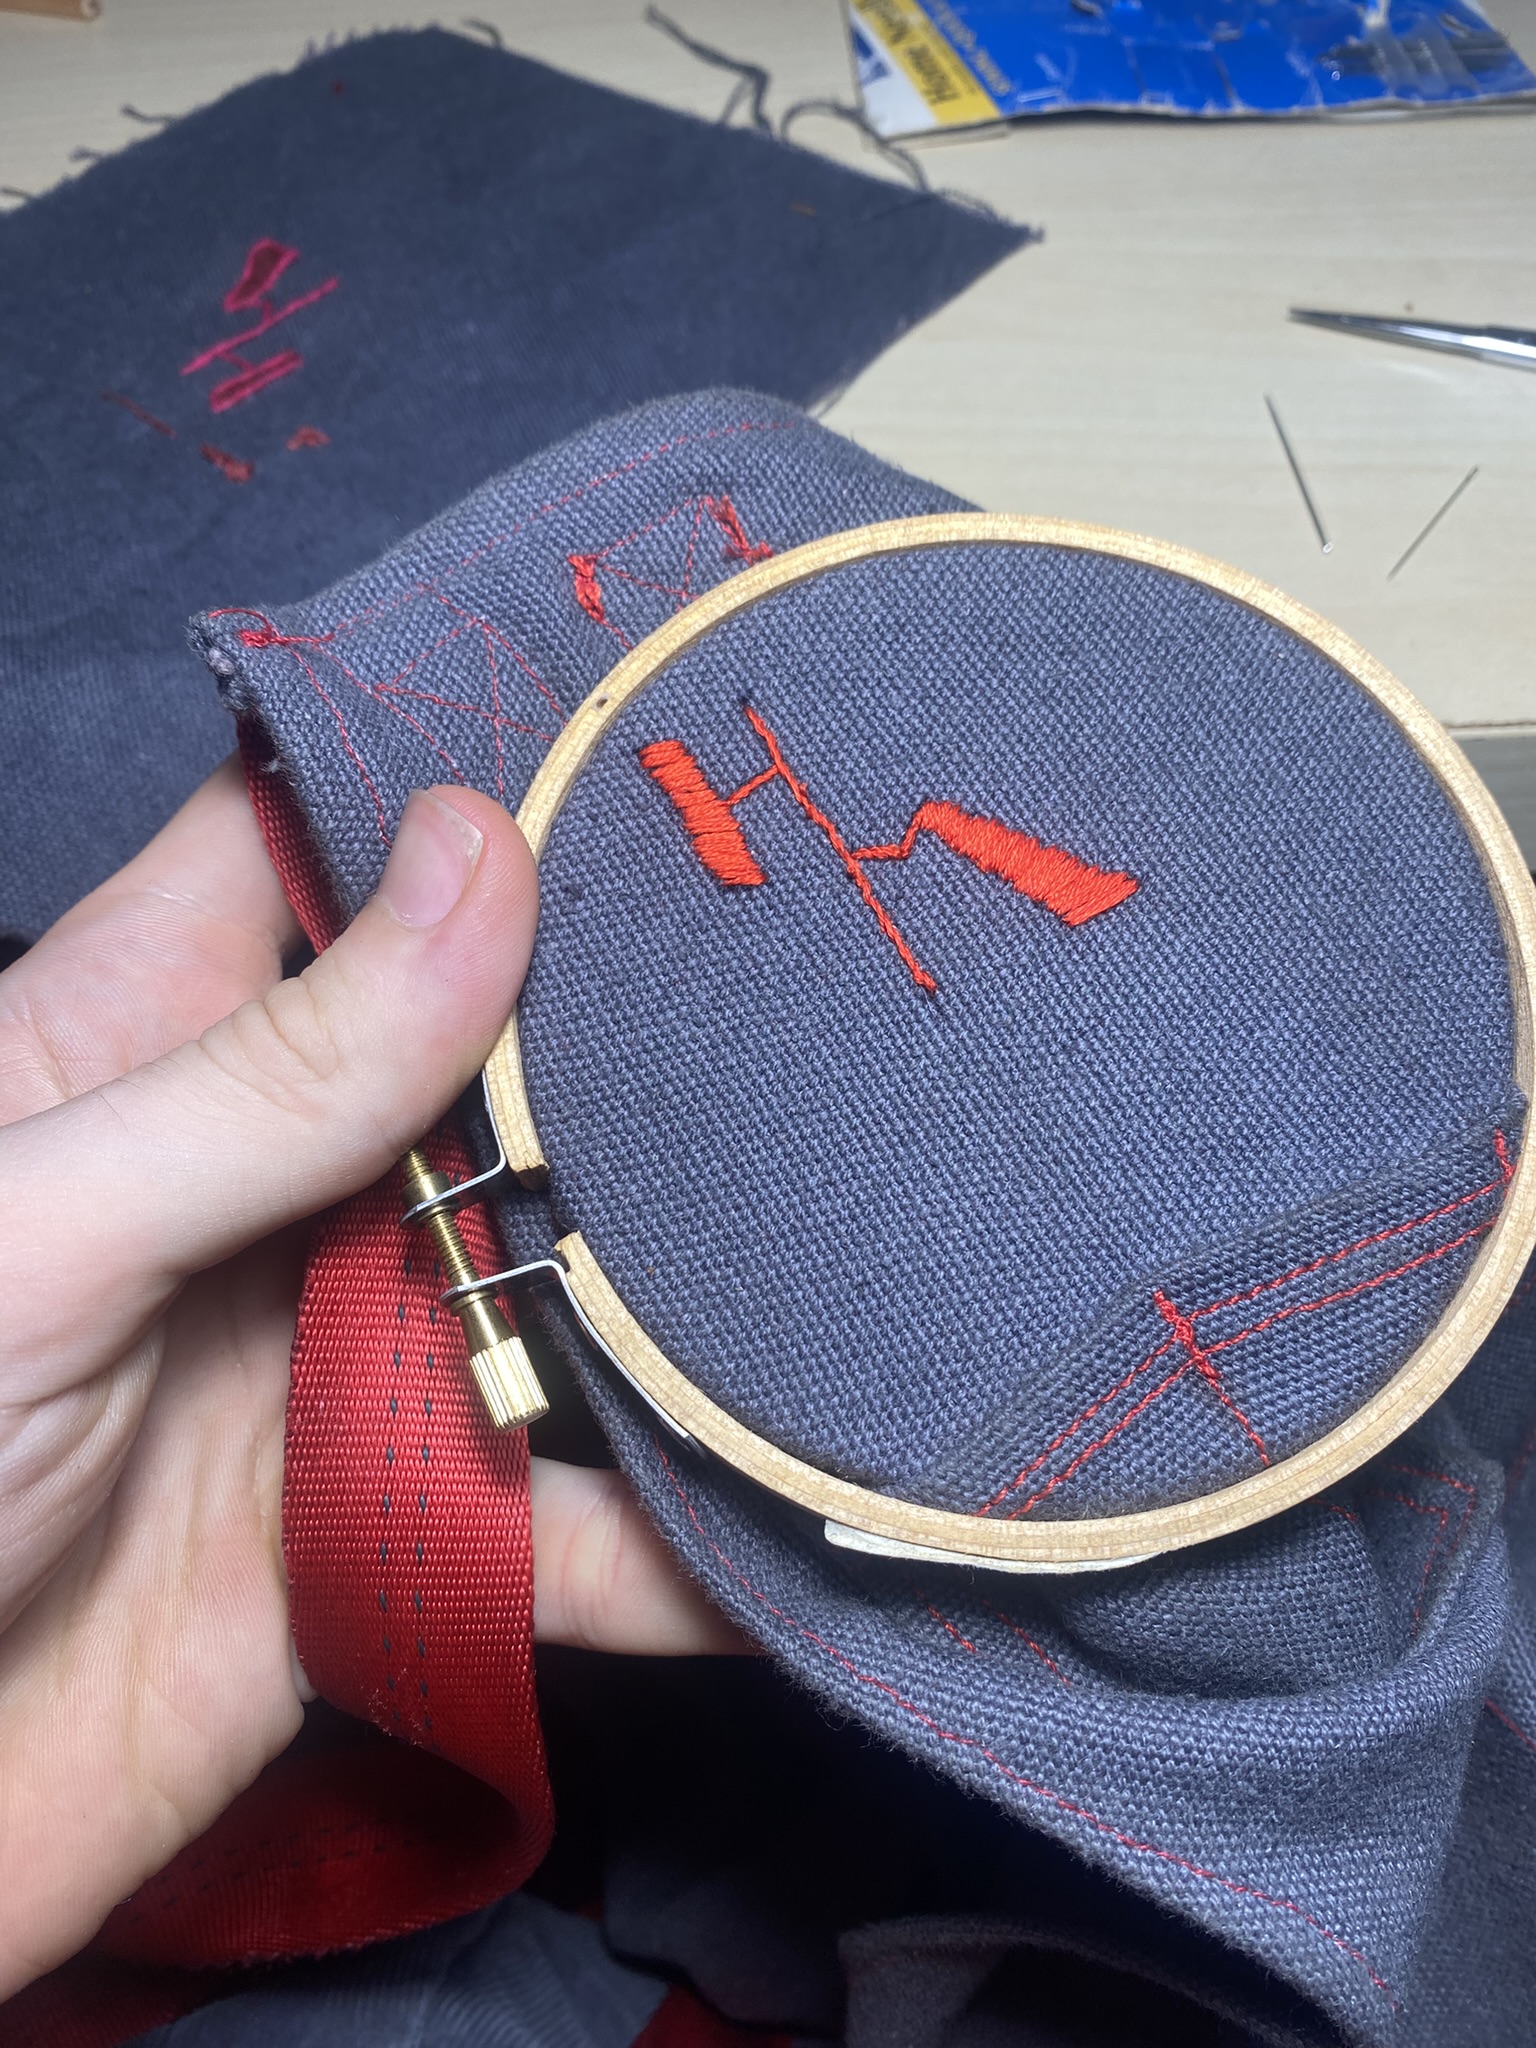
Here it is!
This project exemplifies K.I.S.S. (Keep It Simple, Stupid) as a method for producting good work. This project was as efficent to make as comes as such great quality because of this core tenant of design.
I could not be more proud of how it has come out. My biggest disappointment was realising I can’t admire my handywork while I’m wearing it.
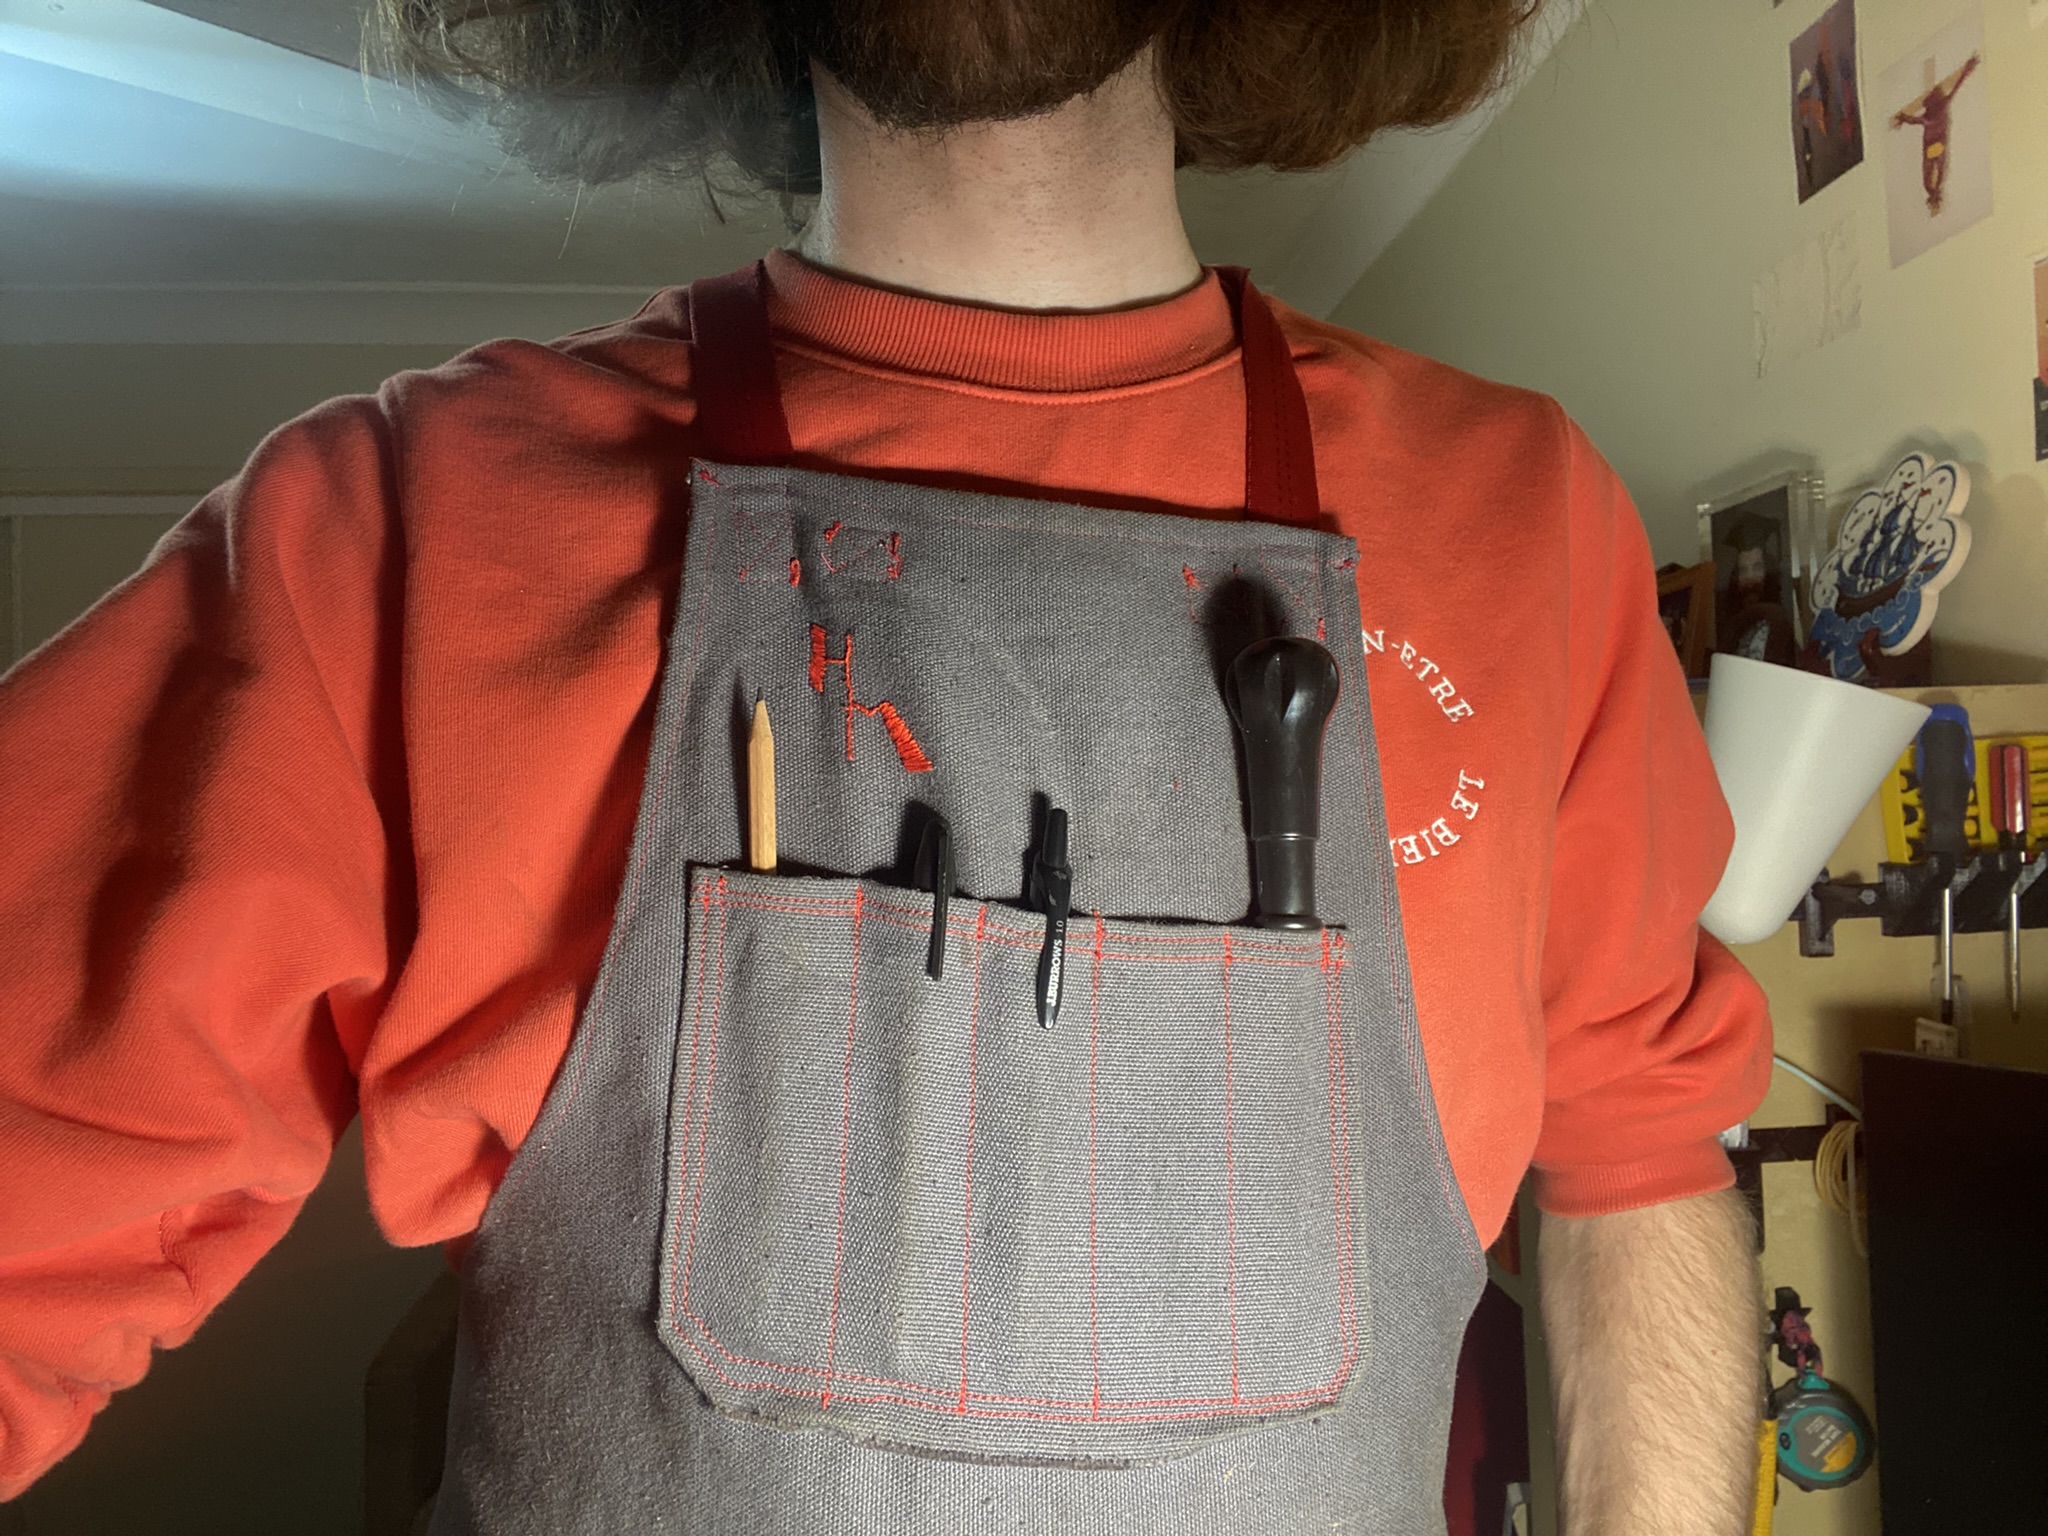
It looks so cool!
This is awesome. I recently came up with a maker's mark for myself and I'm slathering it on everything. Chris' recent post on using his metal stamp brought me a lot of joy. Haven't added it to the ol' apron though...yet.