Making your own pocket notebook is quick, easy, and fills them with so much personality you can't help but fill them to the brim. Not to say the very obvious, but making you own lets you create exactly what you want, number of pages, type of paper, size and as you create more you can try new things and dial in whatever you like. Having exactly what I want in my pocket makes it all the sweeter to write on. I wrote mroe about why you should make one here.
There are literally just four (4) simple steps to making your notebook:
- Bind your paper
- Fold the notebook
- Trim to size
- Personalise
Okay, I've never written an honest to go instructional before so bare with me, but it is honestly that simple.
Step 1: Bind your Paper
Pick paper you like to write / draw / paint on, I usually tear mine out of unused sketchbooks (no paper is sacred if it is blank). I typically use about 12 to 20 pages depending on thickness and for the size I make, A4 sheets can be cut in half and waste less. Make sure your paper is larger than your desired final size (we'll trim down later).
Pick your cover material, whatever cardstock you have on hand will do the trick. Pocket notebooks are designed to have short lifespans (mine are full in about 1-2 months) and so you don't have to pick something that'll protect those pages until the end of time, but some stiffness will make writing without a flat surface easier.
Stack all your paper on top of the cover sheet and bind it in the middle. I am lucky enough to own a magazine stapler that allows me to reach to the centre bind.
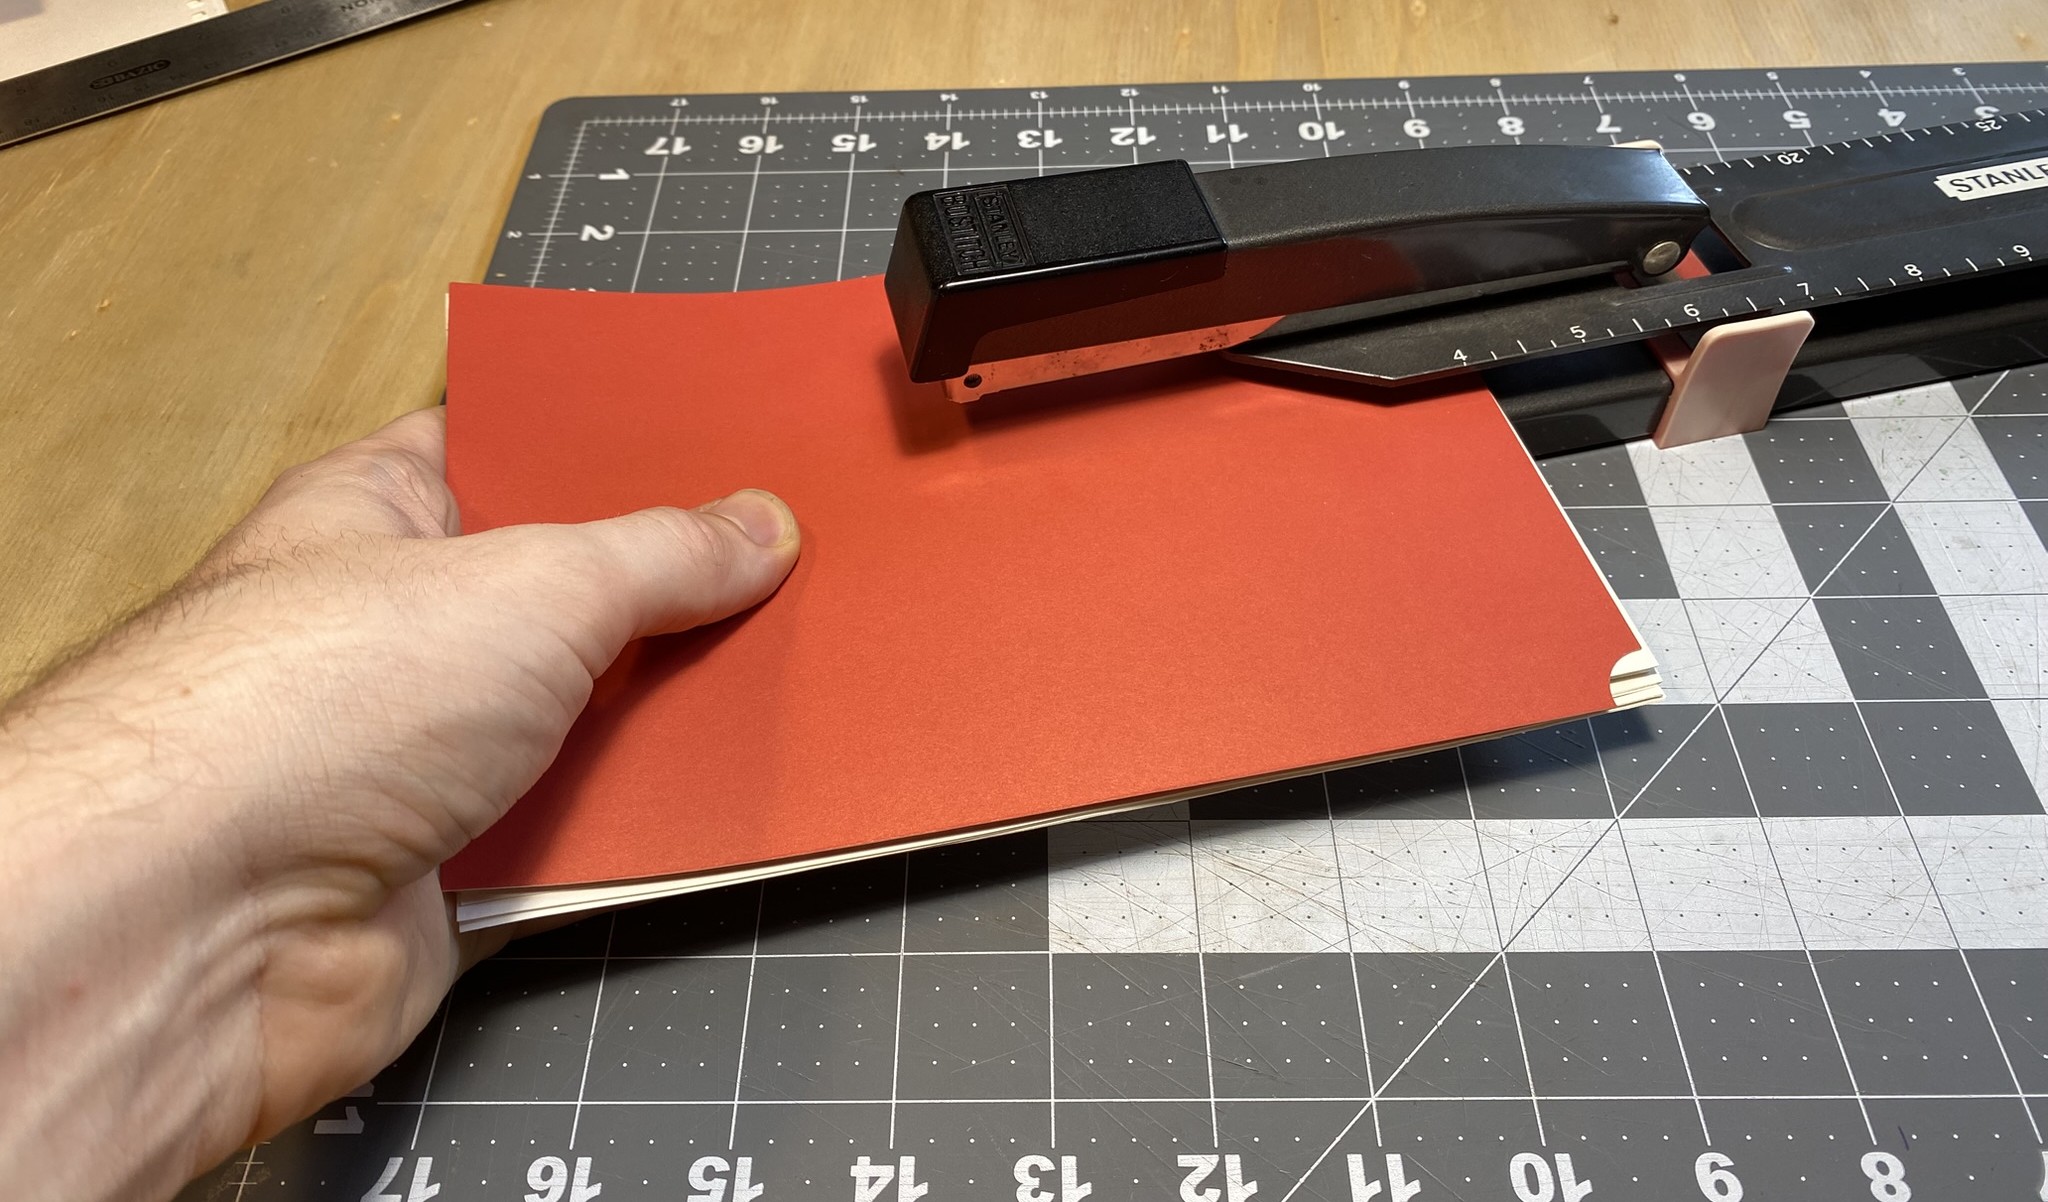
Do not worry about owning this, you can achieve the same with just a normal stapler (that folds fully open).
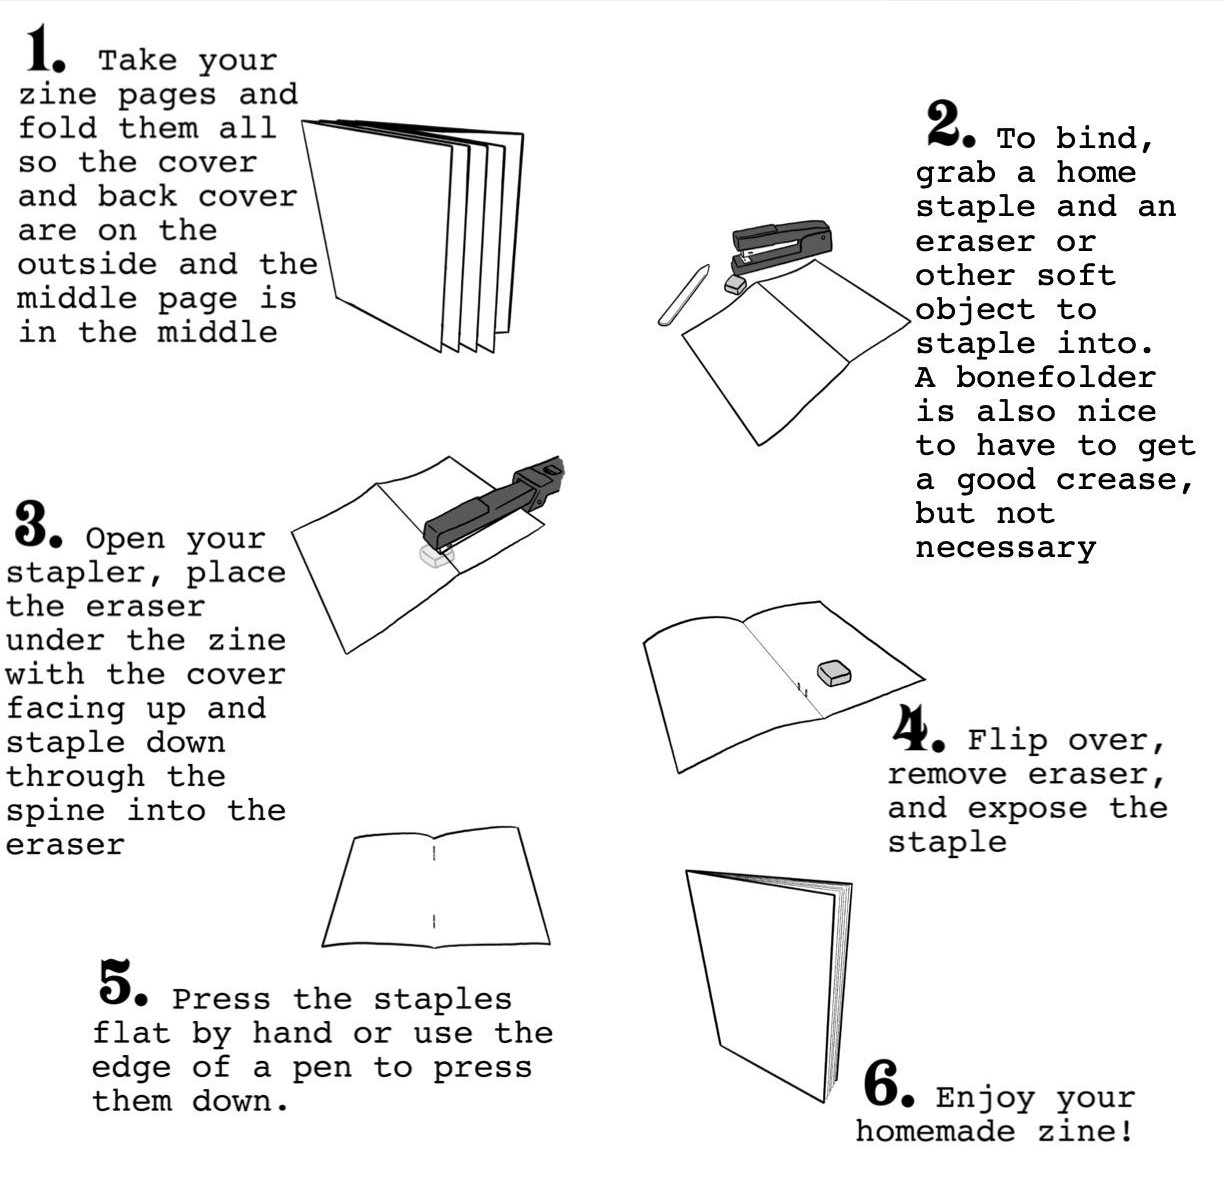
You can also bind with a stitch with only a thread, needle and something sharp to put a hole in the paper with. Stitching looks super cute and is plenty durable
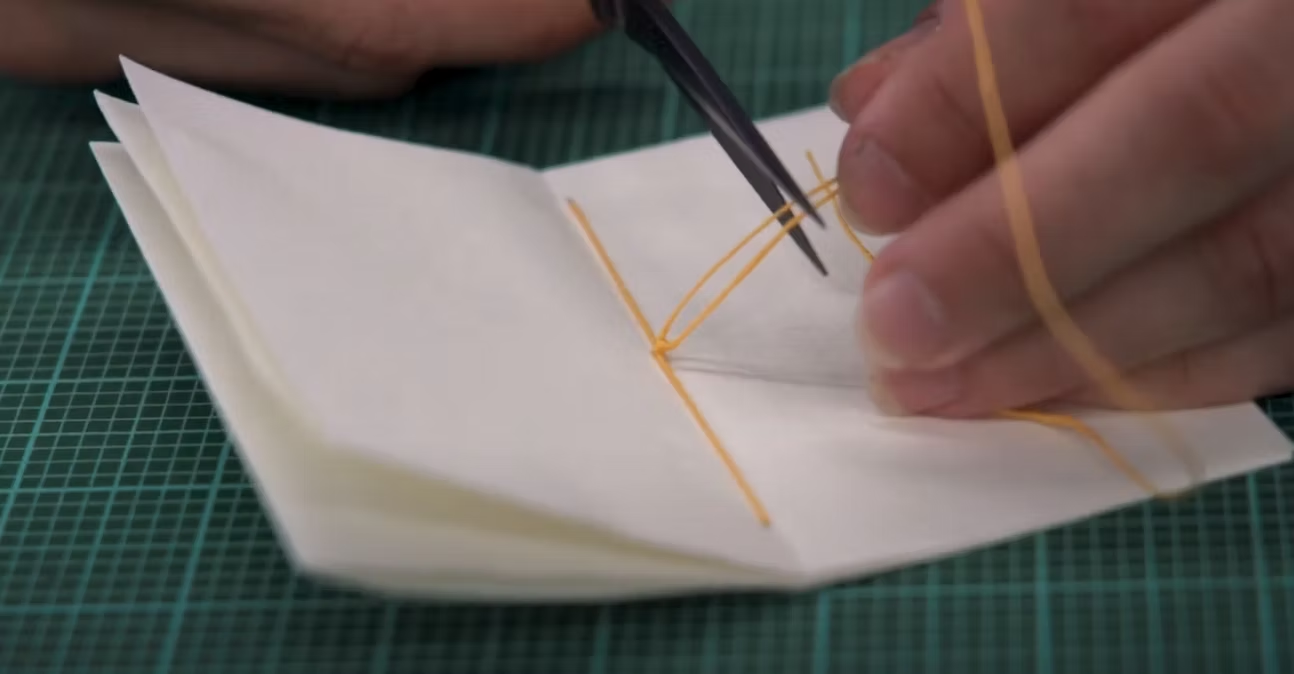
Step 2: Fold the Notebook
This is as easy as it sounds. I'll often leave mine overnight under a pile of the heaviest books I own. It's unlikely to lay completely flat on its own, but as you use it, it'll wear in and become better at laying flat. I leave my notebook under my phone every night to further encourage it to lay flat.
Step 3: Trim to Size
This step is what makes it a great and tidy looking notebook that feels great to use. Clean, crisp edges are surprisingly easy to achieve, you just need the right tools.
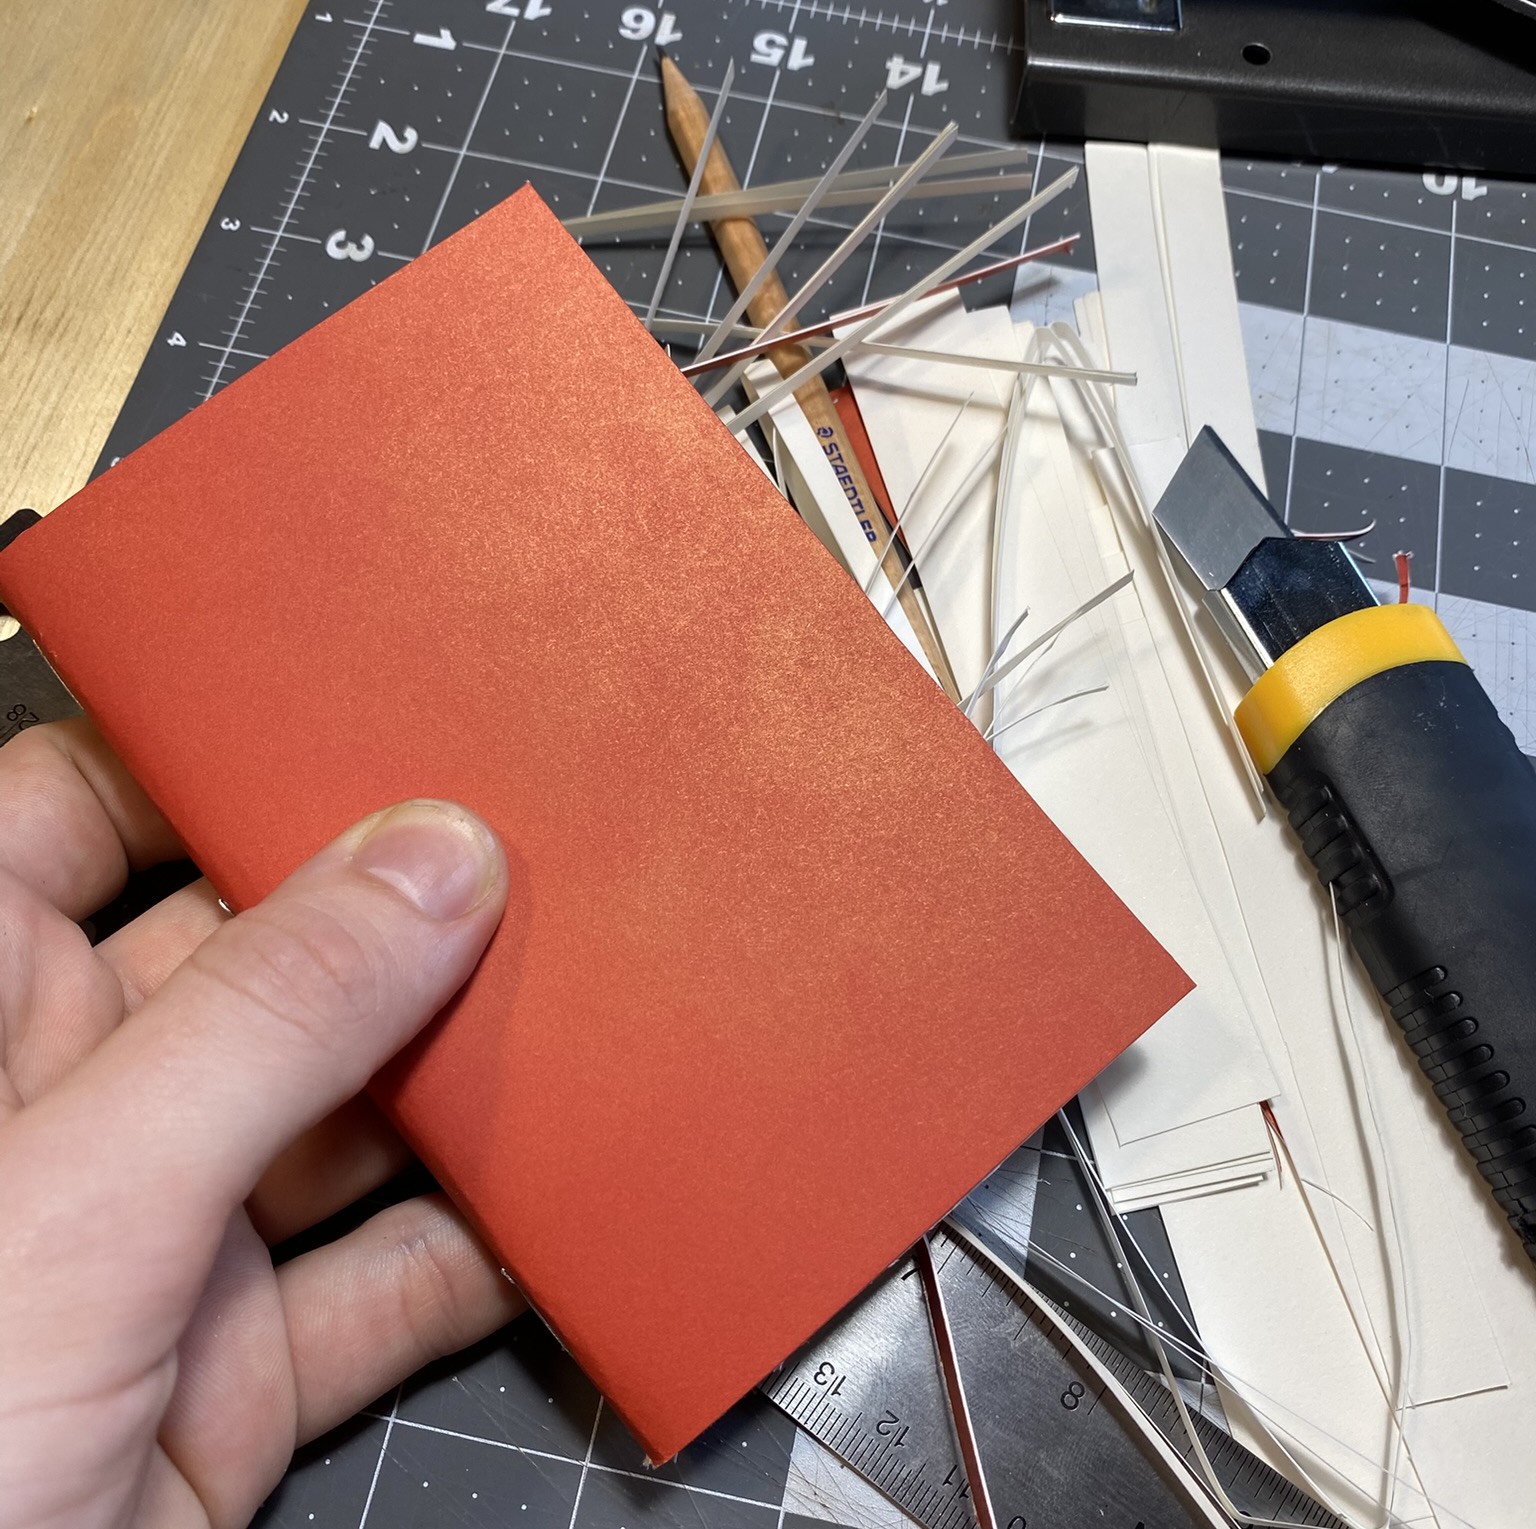
I cut mine to 3.5" by 5.5", this is perfect for almost all pockets and I have found to be my favourite size after much testing. Its a great size to start with if you are unsure.
I use a box cutter with snap blades. The first thing I do whenever I make a notebook is use a fresh blade. The difference is night and day and even a lightly used blade will tear and rip pages. Use fresh blades.
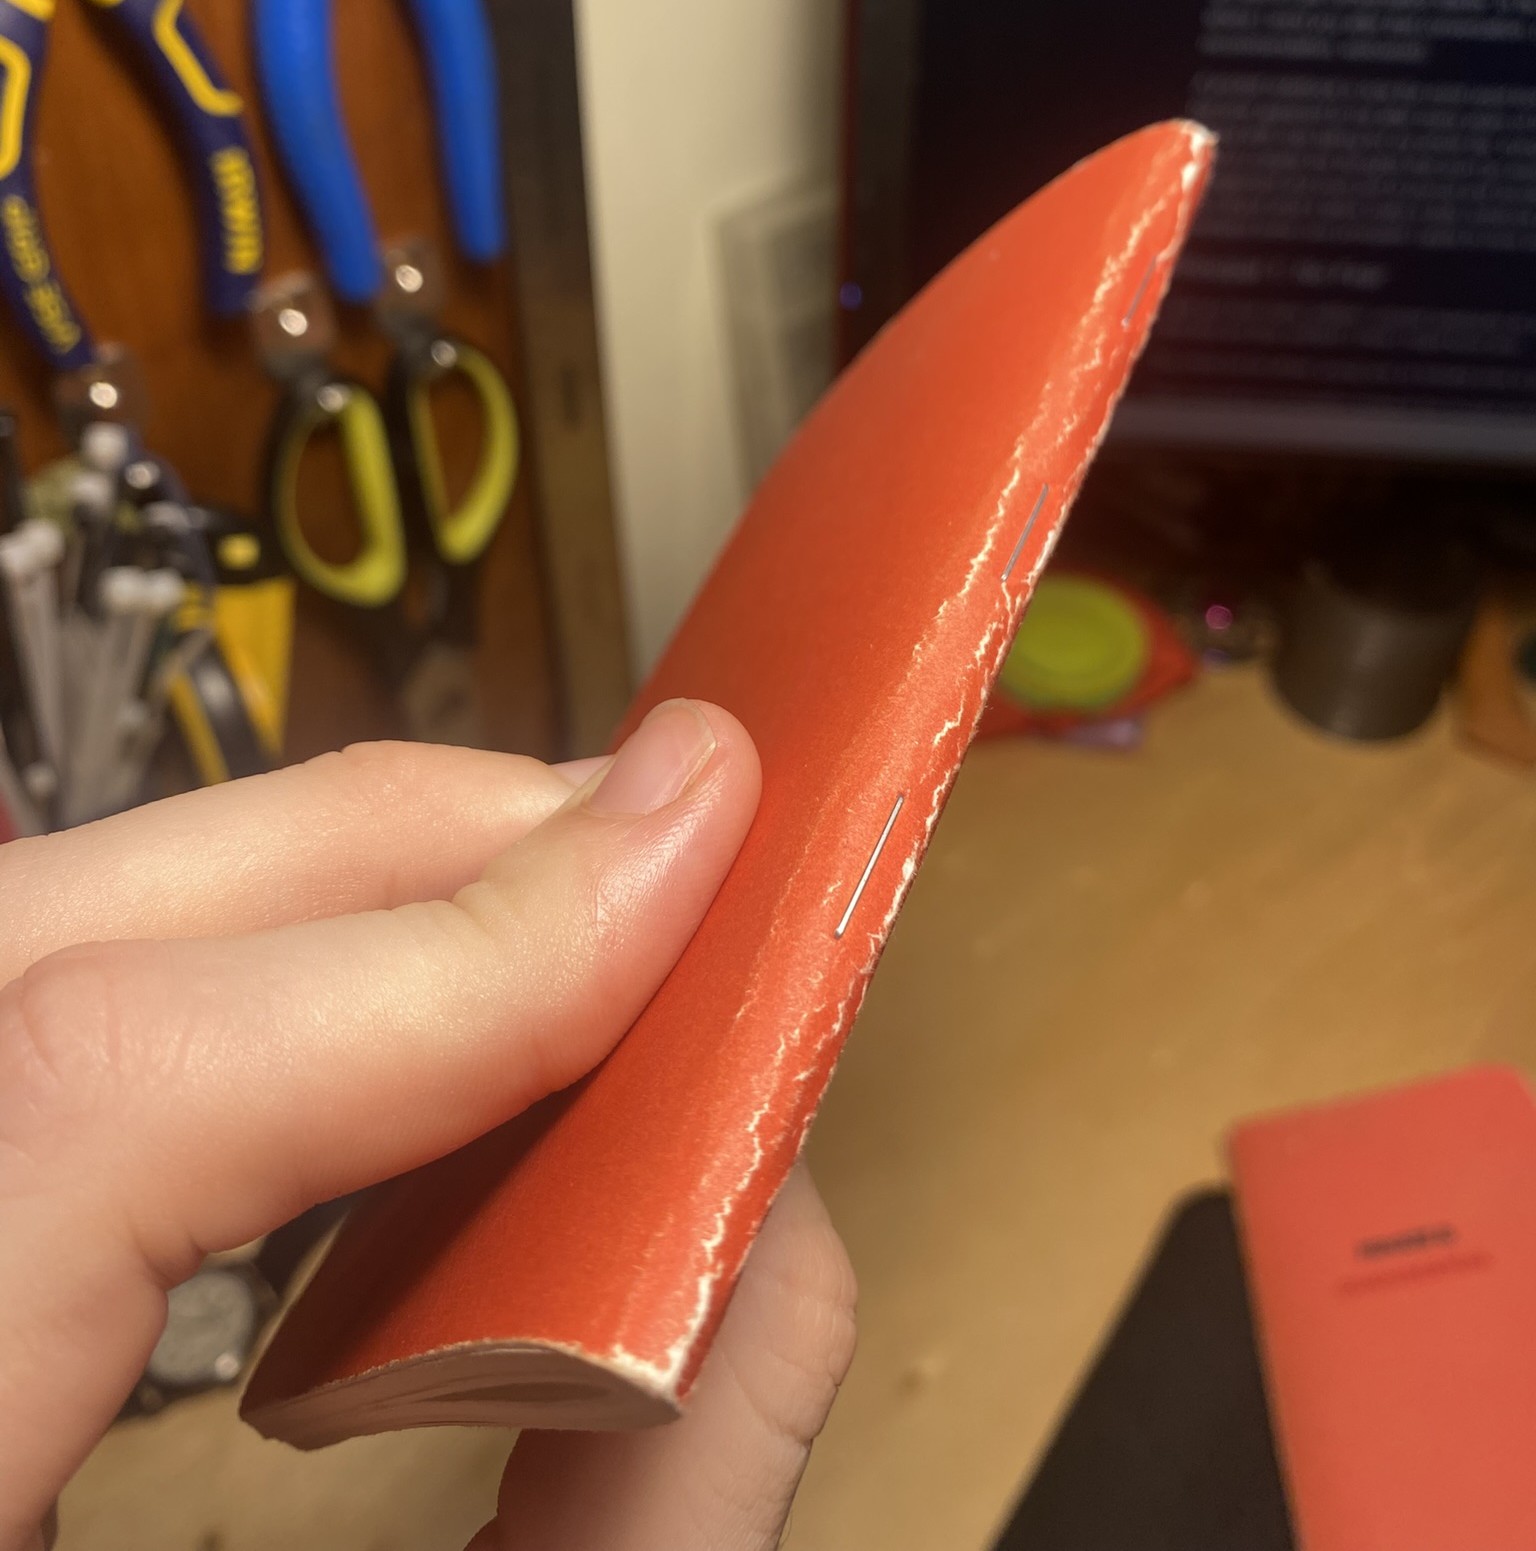
I use a foam-backed metal ruler to guide my straight cut, but I'm still not sold if I should be using a ruler at all. Even under significant pressure, it still often slips and adds a bit of wonk to my notebook. Do not fret about a wonky notebook though, it may look horrific when you first look, but with use you will quickly forget your mistakes. Plus you only get better with each notebook!
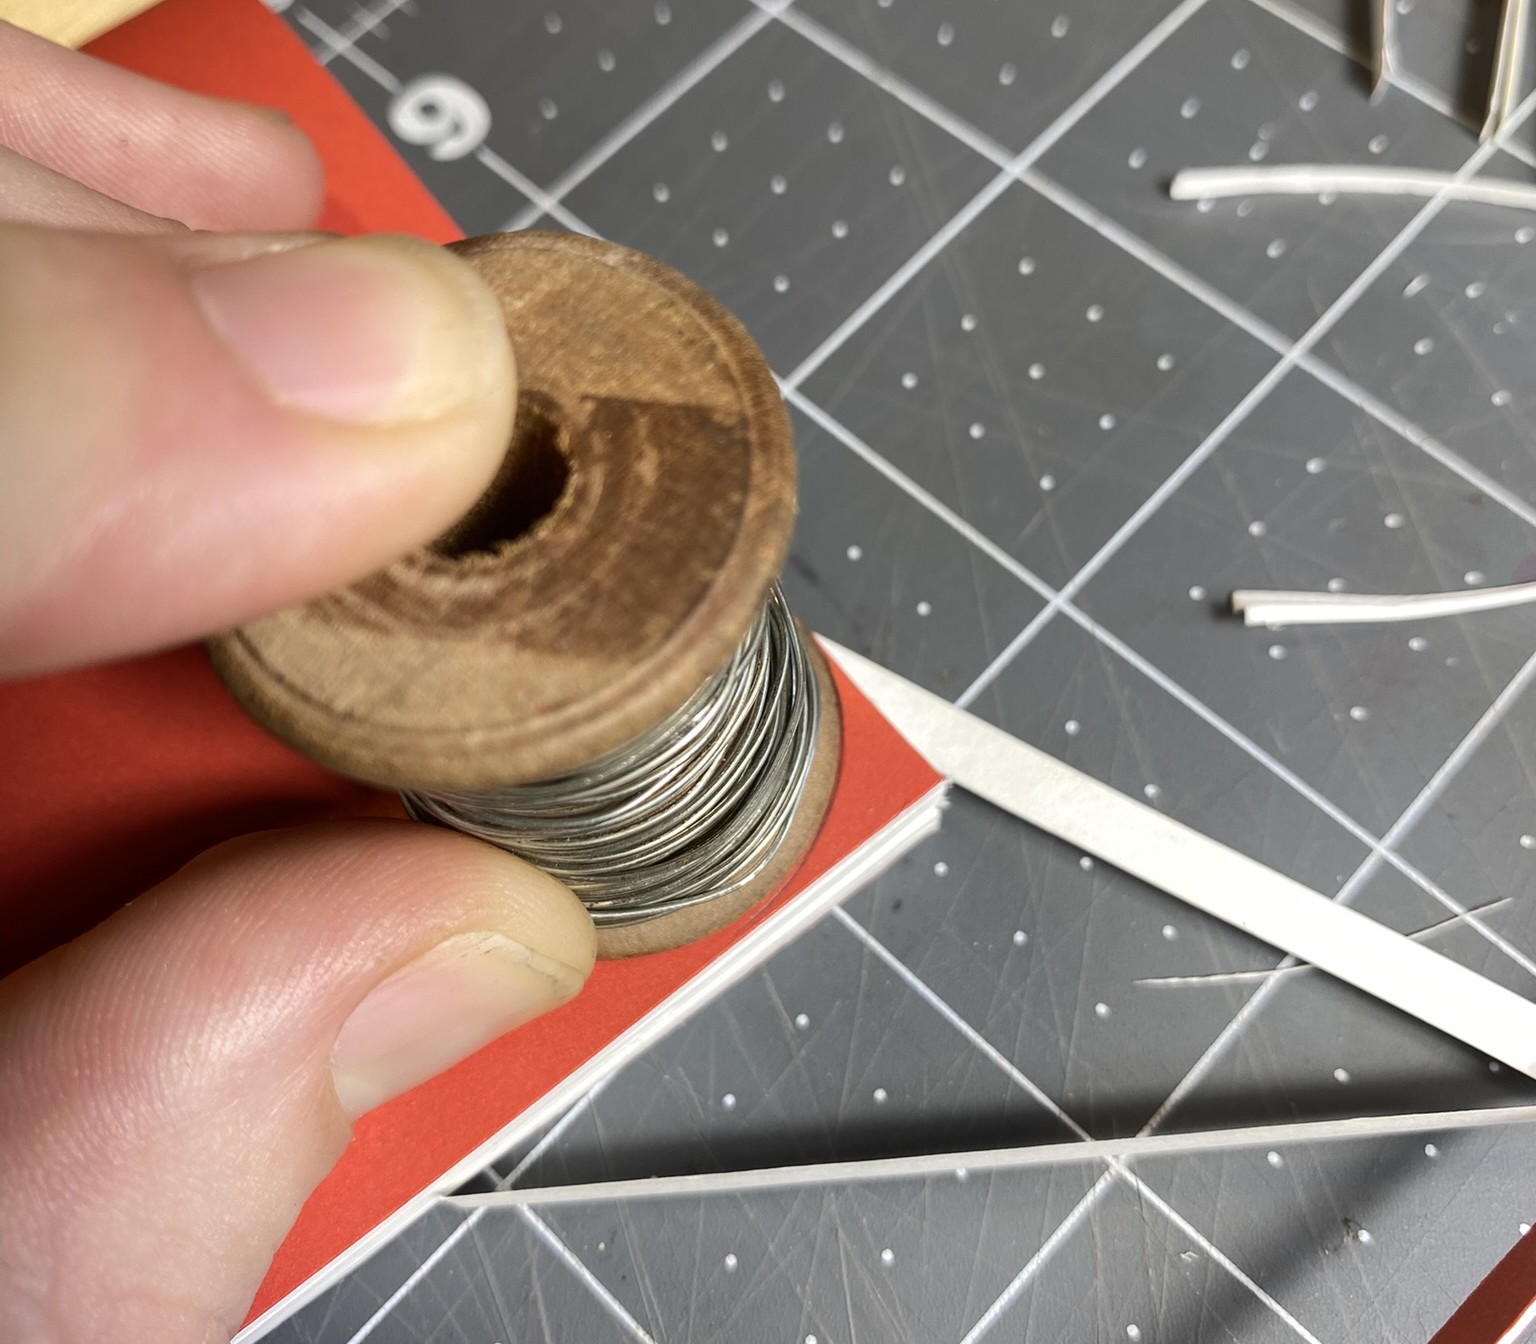
One touch I really like is I then cut rounds into the corners of the non-bound edge. This looks cute but also makes the notebook easier to guide into pockets without fuss.
Step 4: Personalise
The single greatest part of making things is that you get to make them to express yourself and fill whatever neich needs you have.
You can do all sorts of weird and wonderful things when you don't follow the rules. Here are some ideas to spark your imagination:
- Make every page a different material
- Add a one of those little loose leaf pockets to your back cover
- Get some friends to help you create a fun cover
- Sew your own notebook cover, with storage for your materials
- Cut your notebook and weird and funky shape and size
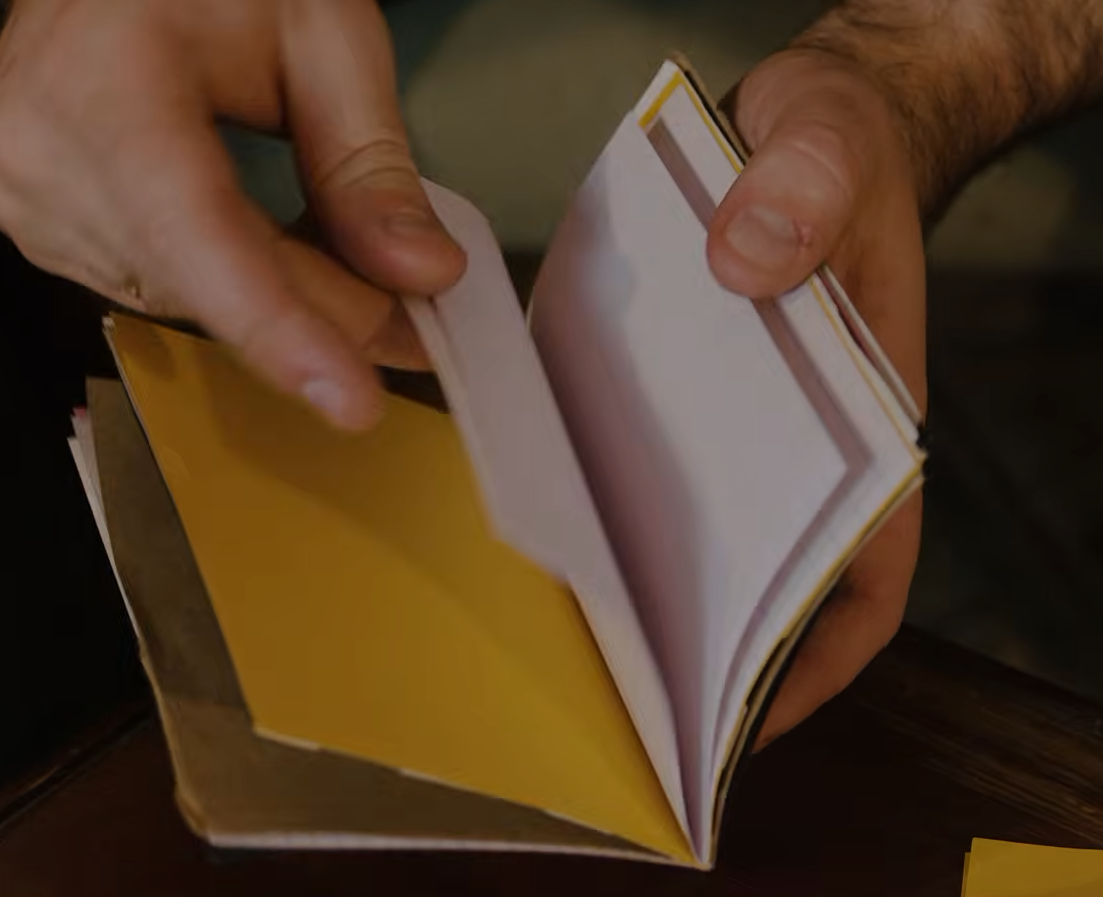 This Video by Tent was kind of my beginning for making my own notebooks.
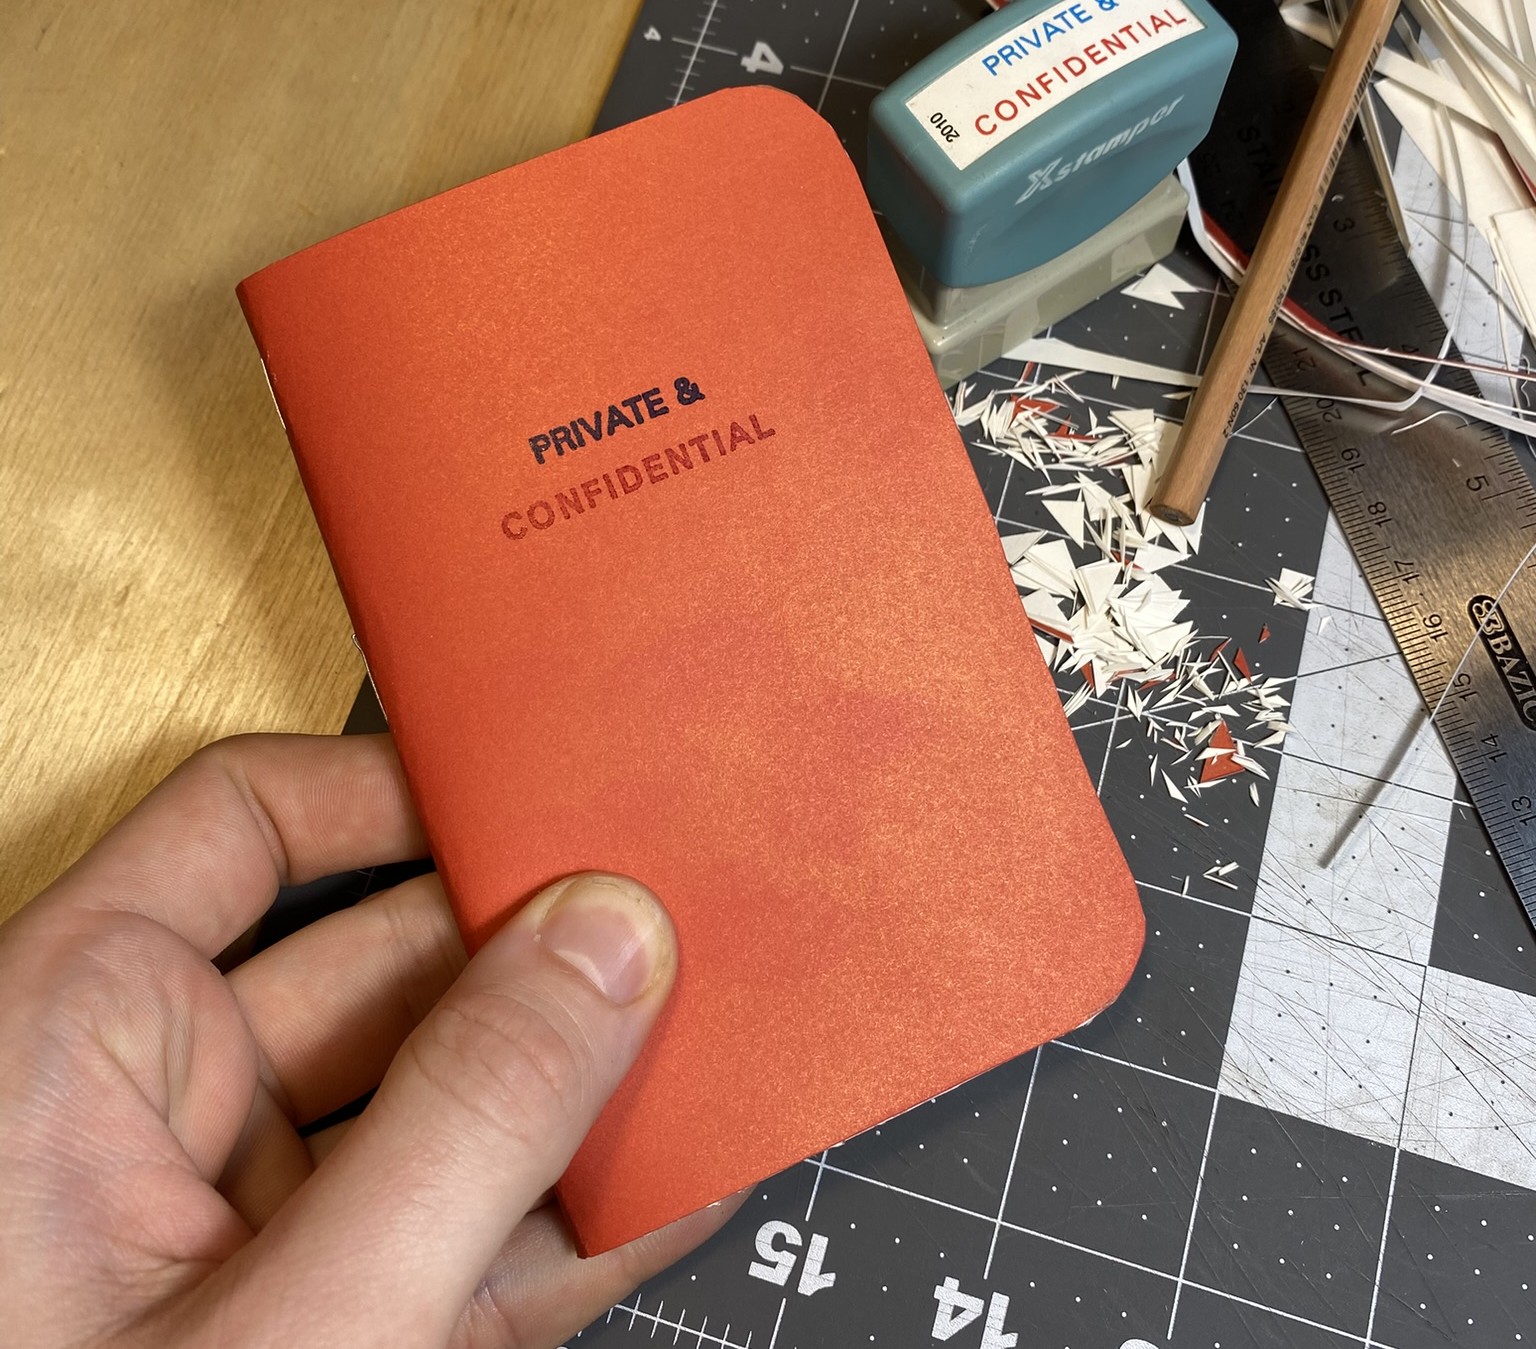
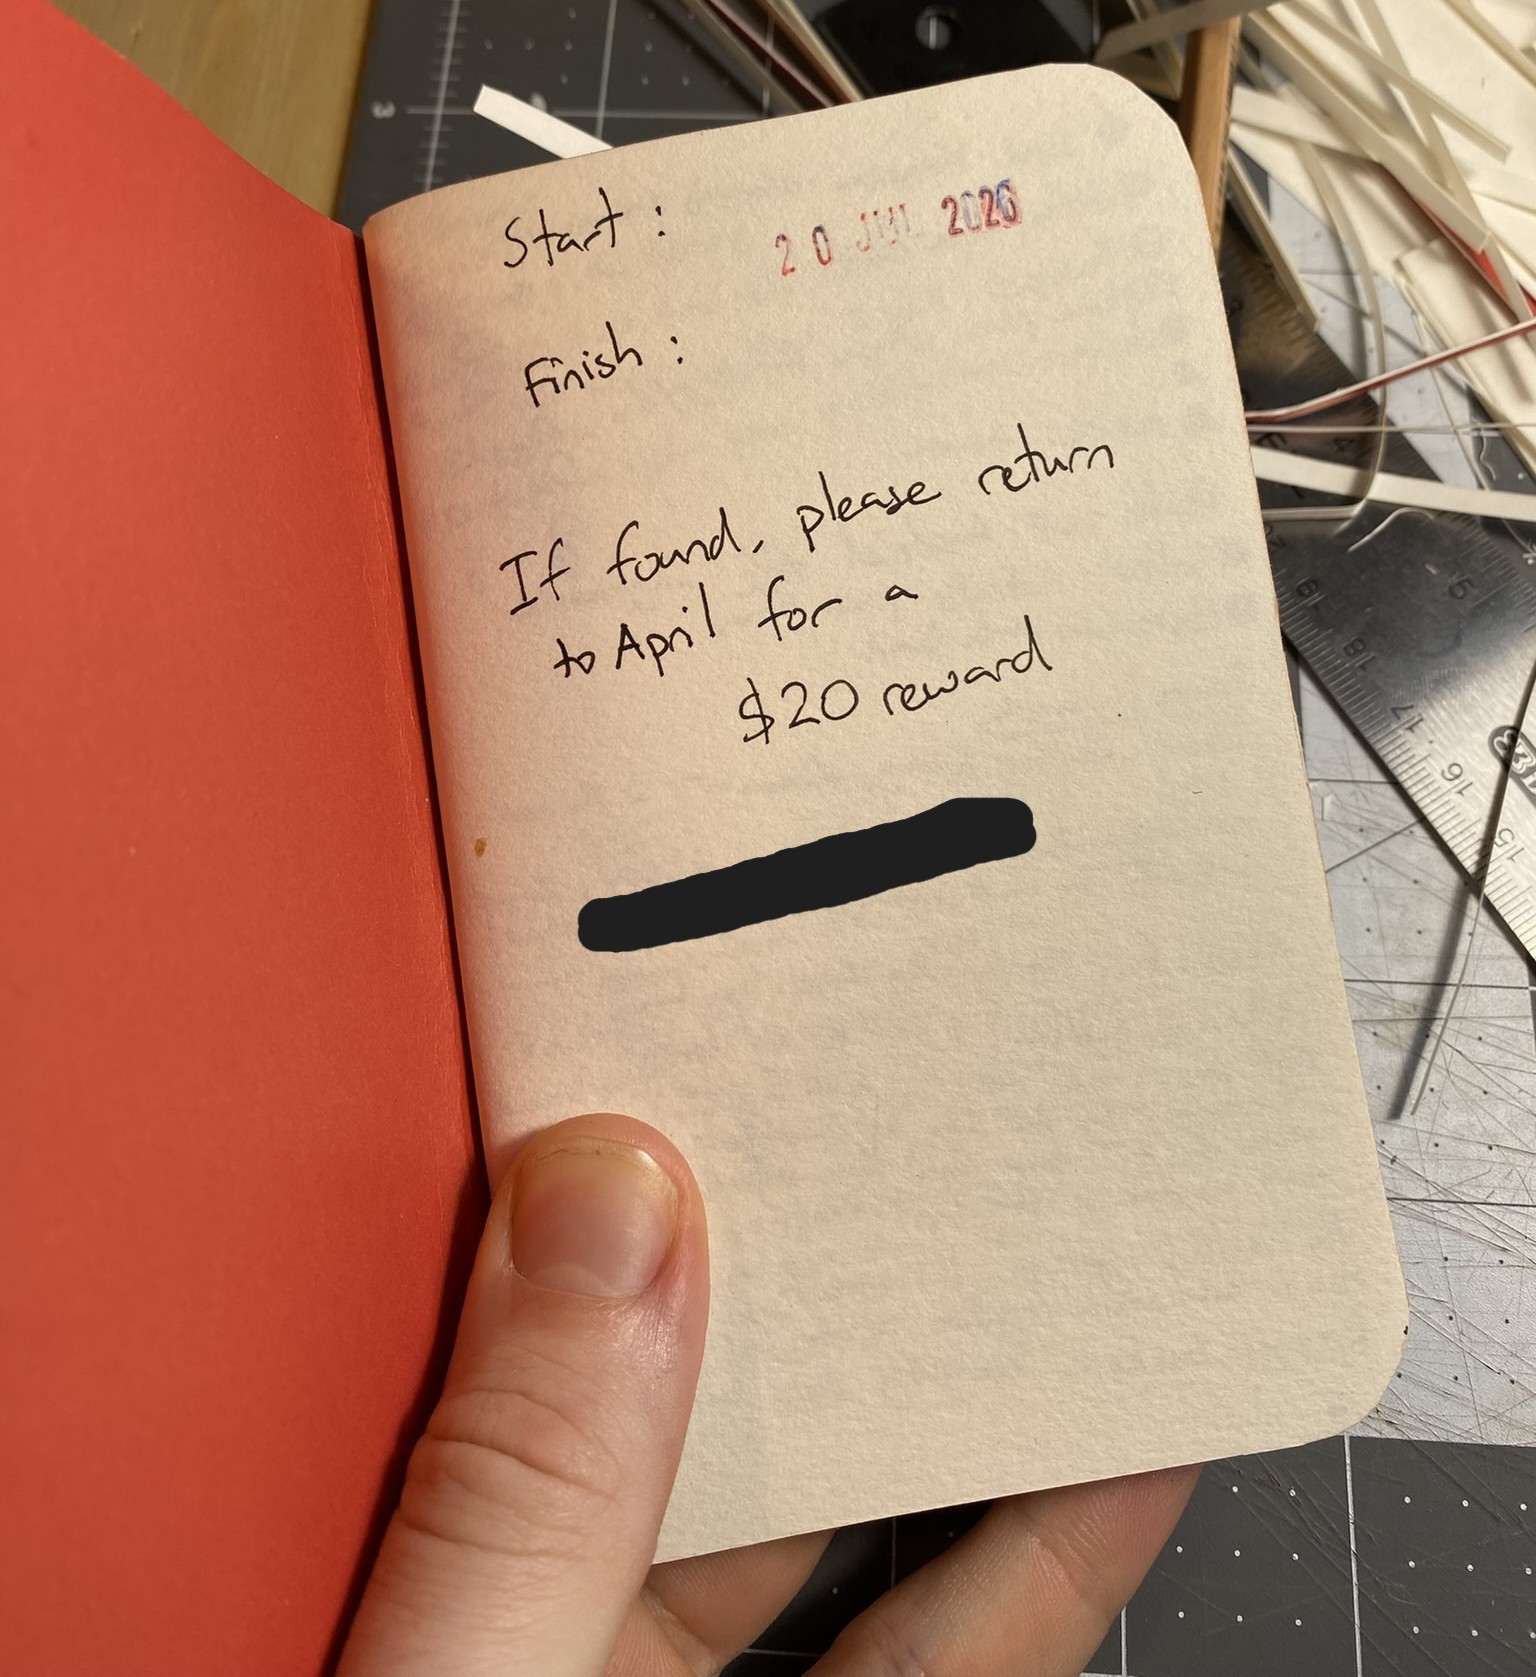
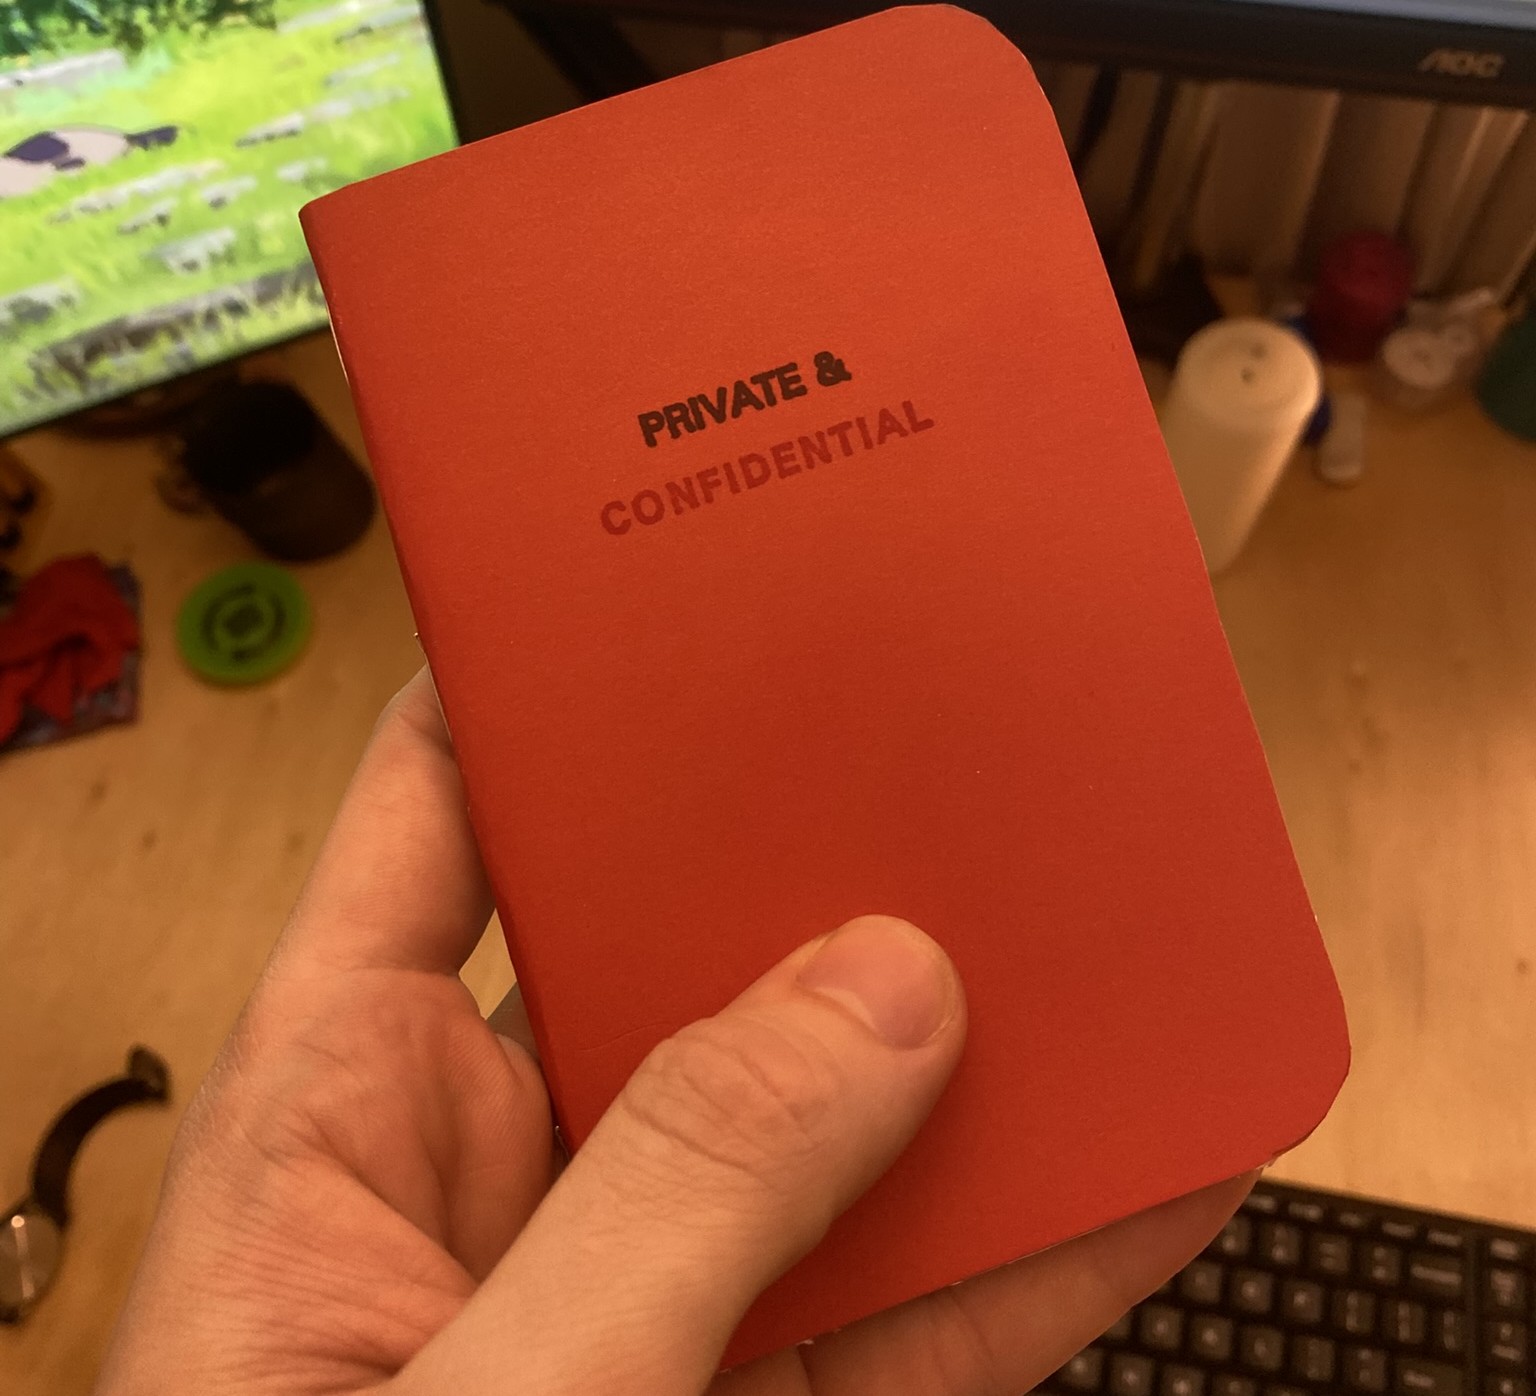
I do a couple of fun things to make my notebooks mine. I add a front page, with start and finish dates and phone number and reward for returning encase I loose one. Then they get finished with a Private and Confidential stamp mostly to let me know at a glance if I'm looking at the front or back cover.
The most beautiful part of any notebook is wear, whatever you do to make them beautiful, the most powerful will be to use it.
So, what are you waiting for?
After making a handful, they take me around only 10 minutes to make and are coming out better with each one. I've found them so rewarding to both create and use that I just had to help others on their journey.
Go do it! Go make a notebook! I swear its fun and rewarding.
Please, please, please share pictures of whatever you make, I want to see what all you beautiful people create! Have fun!